So, you pick up a ham, look at the oven reheating directions on the package and think you can probably do better. You definitely can! And that better way is to sous vide the ham, which will perfectly warm it through while keeping it oh-so juicy and tender.
Sous vide has the remarkable ability to surprise you every time with just how amazing the results are with such little effort. It just doesn’t make logical sense until you try it. It’s the definition of foolproof. You really can’t mess it up. Give it a try!
While I am a huge fan of double-smoked ham, where you heat the ham up in the smoker to add even more flavor, sous vide ham is by far the juiciest and most tender you are going to get. You just won’t be able to stop eating it. And I know from experience.
Ham is one of the more perfect foods. It’s already cooked, so all you have to do is warm it up and finish it with a glaze that complements the flavor and adds the final perfect touch. No matter how you reheat the ham, you probably won’t find anyone complaining. But sous vide adds moist tenderness that will get people wowing, and your own homemade glaze will amplify the wows.
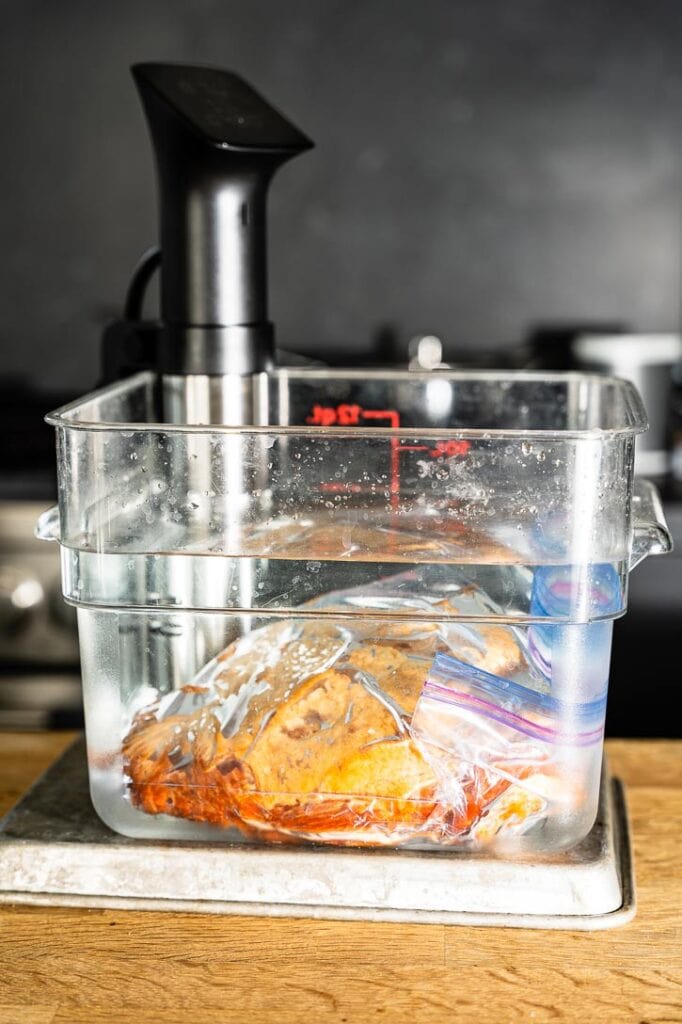
Why It Works
Since your ham is sealed in a bag when you sous vide, there’s no way for the moisture to escape while it takes a bath at the perfect temperature and warms through from edge to edge. It stays tender and moist and is also hands-off until the end, when it is quickly glazed under the broiler.
Another advantage is that you have a huge time window (between 3 and 8 hours) to leave the ham in the water bath without having to worry about it. This is perfect for a busy holiday when you have other things to focus on.
The Glaze
The glaze gives you options for the flavor you want, or for whatever you happen to have available in your pantry. Just skip the packet of powder that might have come with your ham for a glaze.
While you can get super fancy with a glaze by adding all kinds of ingredients, keeping it simple works almost as well. Just three ingredients are really all you need: a sweet base (usually brown sugar), a tart/sour liquid (such as vinegar, orange juice or pineapple juice) and maybe something with a little bite (like Dijon mustard). If you follow the sweet/tart/spicy formula for the glaze, you can’t go wrong, but changing your ingredients will slightly change the flavors. Feel free to experiment, which I do all the time.
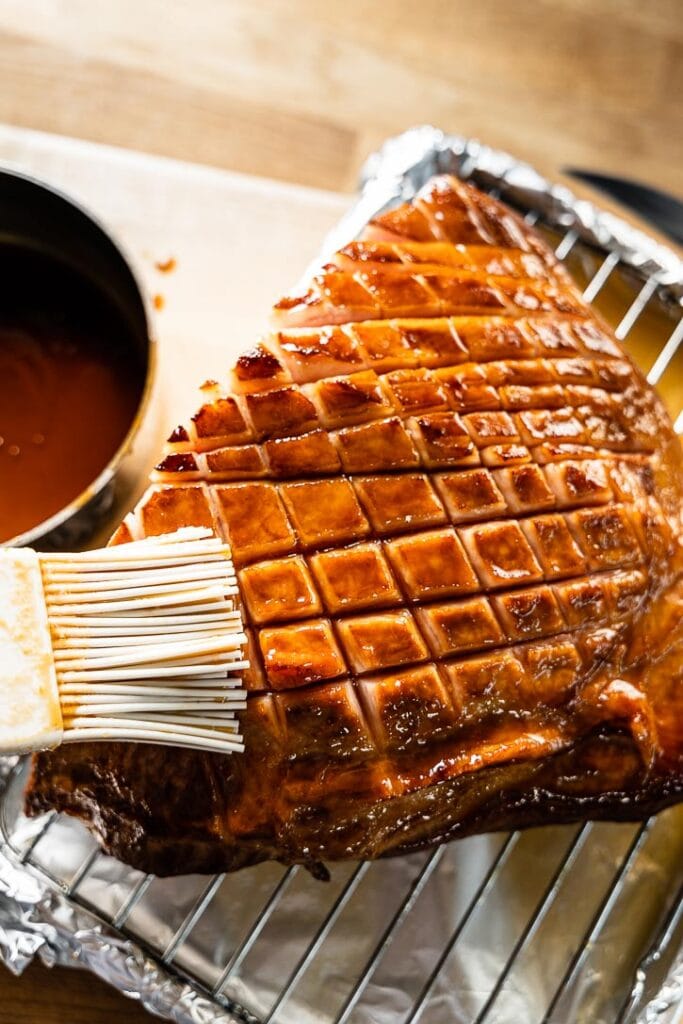
The Finish
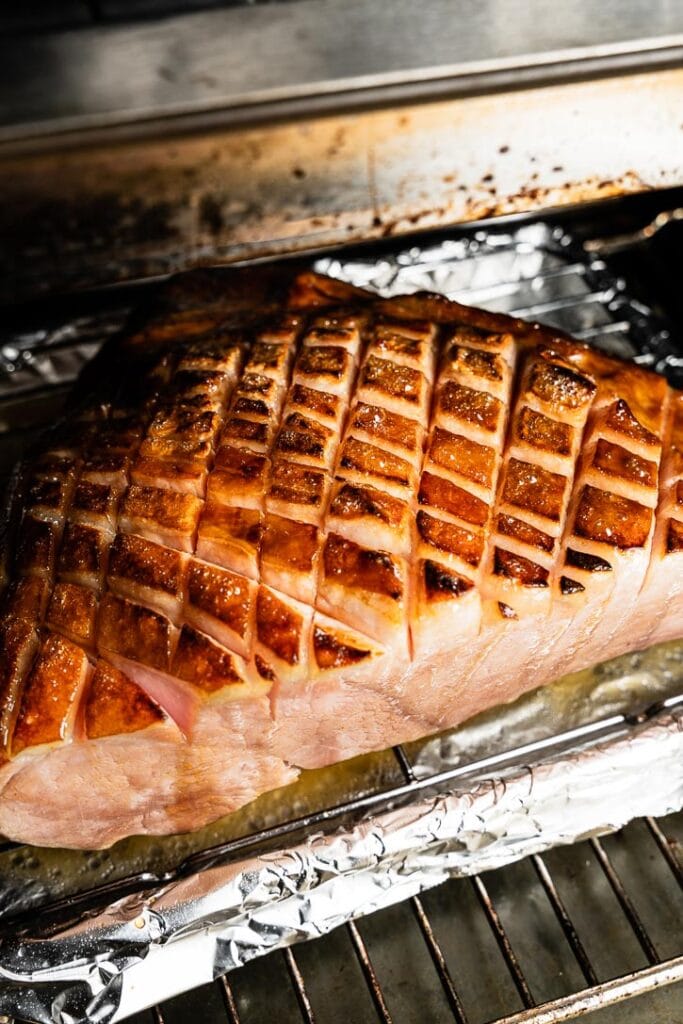
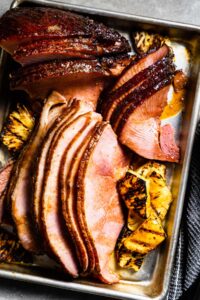
After the ham is all warmed through, it’s time to brush on some glaze and put it under the broiler to get some color caramelizing the glaze and crisping up the fat. After a few minutes, brush on some more glaze and then put it back under the broiler just until it gets perfectly browned.
Tip: Use a foil-lined rimmed baking sheet and a wire rack. Add a little water to the bottom of the baking sheet, which will prevent any of the drippings from burning in the sheet pan and make for an easy cleanup.
Once the ham is out from the broiler, just slice and serve with a touch more of the glaze. Savory perfection, with a touch of sweet!
Serving Suggestions
- Scalloped Potatoes
- Sous Vide Carrots
- Perfect Green Beans
- Sous Vide Mashed Potatoes
- Crispy Roasted Brussels Sprouts
More Delicious Recipes to Try

Sous Vide Ham
Equipment
- Large container for a large ham, such as a 12-qt Cambro
- 2-Gallon Ziplock freezer bag
- Sheet pan
- Rack
Ingredients
- 2 to 6 lb ham in package (already cooked)
For the Glaze
- 1/4 cup tart liquid: balsamic vineagar, port, pineapple juice, orange juice or apple cider vinegar (choose one or make a combination for different flavors)
- 1/2 cup brown sugar
- 2 Tbsp Dijon mustard
Instructions
- Heat the water bath to 140° F / 60 ° C
- Place the ham in a large Ziplock freezer bag and lower into the water bath, removing all the air and sealing. Or sous vide directly in the original vacuum-seal packaging if it is food safe.
- Warm in the water bath for 3 to 8 hours.
- Make the glaze by whisking all of the ingredients in a small saucepan over medium-low heat until it starts to thicken, about 5 minutes.
- Remove the ham from the water bath and remove from the bag. Place on a wire rack cut-side down on a sheet pan lined with foil. (Put a little of water in the foil to prevent smoking when it is in the oven.) Optional: Cut crosshatch pattern with a sharp knife so the glaze can run into it (it's also great for presentation).
- Preheat your broiler or oven to 475° F, and position the rack in the middle or slightly lower so the ham doesn't get too close to the flame.
- Brush on half of the glaze and place in the oven for about 5 minutes, keeping a careful eye on it.
- Brush on more glaze and place under the broiler for about 5 more minutes, or until the fat is crisped up and glaze is caramelized but not burned.
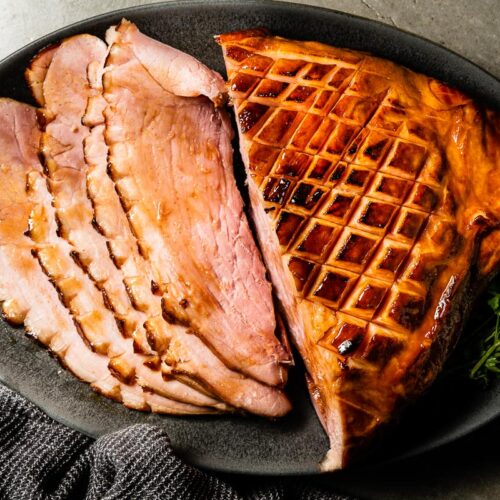
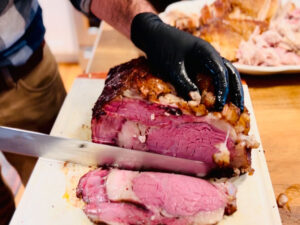
- Slice and serve with a drizzle of the remaining glaze.




Can this recipe be used for a boneless ham.
Yes, it definitely can be.
A ham that we can’t stop eating all week long! We buy the little hams (non spiral sliced) at Costco and cook them up with this recipe for an amazing dinner. Then we enjoy simple ham sandwiches that are just to die for. Using these as sandwich meat saves a lot of money and tastes way better. We love the glaze and the ham stays so juicy when it’s gently heated up in the bag.
This recipe sounds PHENOMENAL!
I am just starting to “dabble” a bit with the concept of Sous Vide cooking, and incorporate it into my cooking methods.
Interesting idea you point out about the packaging that the ham is already in when bought. but I do have a question….
.
Question: Is there anywhere on the packaging where it may state if the vacuum sealed package that the ham is already in, is “food-safe, rated for temperature?”
If the info is not listed anywhere on the bag, would it just be more advisable to remove the ham from its packaging and place it into either another vacuum sealer bag or a Ziploc freezer bag.
While it would be so convenient to use the bag that it comes in, it would be a disaster if the bag bursted from the heat during the cook time.
Thanks, in advance.
So glad to hear you are starting to get into sous vide cooking. It’s such a wonderful addition.
The packaging is tricky. I don’t think it will usually say on the package whether it is food safe to heat or not. So it might be info you would have to find out from the manufacturer. It is so easy to just drop the packaged ham right in the water bath. I have done this with no problems of it bursting using the “Master Carve Half Hams” from Costco. The plastic bag is thick and well sealed. The shelf life on those is so long, it must have already been heated to pasteurize it right in the bag.
The concern people have is with the plastic being safe to heat without it leaching into the food. You can just error the side of caution and remove it from the bag and re-seal yourself, which really isn’t a big deal either. Just be sure to pick up some extra large bags if your ham is on the larger size 🙂