Often ribs are too fall-off-the-bone tender. Yes, it sounds strange because of that saying, but it’s true. While it’s a personal preference, my opinion is that you really want slight resistance, but not too much. Reproducing the perfect BBQ ribs every time is not easy. You nail it one time and the next time the texture just isn’t as perfect. This is where the sous vide BBQ technique comes in and excels for barbecue.
The Goal: Produce ribs with the perfect texture and outstanding BBQ flavor that can easily be reproduced every time.
Perfect texture via sous vide. Perfect flavor via smoker.
There are so many variables with ribs. And you really can’t just cook them a specific amount of time for perfection. You can’t cook them to a certain temperature (because you can’t really get an accurate reading). It’s like, “when they’re done, they’re done.” Except now…
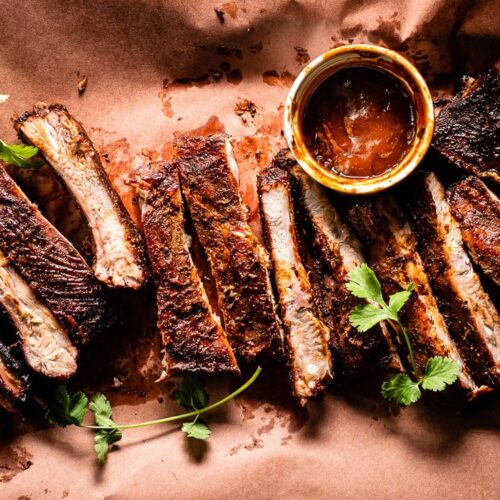
Smoked pork ribs have the absolute best flavors you can pack into a bite. Sous vide gives the perfect texture. They are truly the best of both worlds!
One of the big drawbacks of making ribs is they are so labor-intensive. Ever wonder why a rack costs $40 at a restaurant? It’s not just the meat but the time and care it takes to get those to your plate. And while the sous-vide-then-smoke method takes a lot of time, it’s mostly (maybe 90%) hands-off. And that’s what makes it so awesome!
Advantages of this Method
- A large margin for error, unlike traditional smoked ribs, which can go wrong quickly.
- Easier to get perfect ribs.
- Less hands-on time.
- No need to spritz every 30 minutes.
- Less time in the smoker.
- An amazing texture that you can’t achieve in the smoker only.
- Can sous vide ahead of time then smoke a few hours before serving.
To Smoke or Sous Vide First?
This is a highly debated subject. Some people say it’s better to smoke first for more smoke flavor. But I’m on the sous vide first, then smoke boat for the reason that most of the flavor and the bark is going to wash off if you cook in the water bath second.
If you really wanted to, you could smoke, sous vide and then place back in the smoker or on the grill to get bark. But honestly, that’s way too much work, especially since one of the big advantages to sous vide-ing the ribs is to cut down on the time commitment.
The Ingredients
Like dishes, every element adds its strength to make the final result we’re going for.
The Ribs
These are St. Louis-style pork spareribs. But you can also use baby back ribs. Just be sure to get all the membrane off and give them a good rinse prior to cooking. The membrane (the layer of silver or white skin found on the underside of the rack) gets rubbery when cooked and prevents flavors from penetrating the meat. Just start at the end of the rack, get a dull knife under the membrane and carefully pull it off the whole rack.
Premium Niman Ranch St. Louis Ribs are available online from Perdue Farms delivered to your doorstep.
The Rub
Only put a small amount of rub on the ribs during the sous vide cook step. But do season well with kosher salt (1/4 teaspoon per pound). The reason is that most of the rub will wash off in the bag and won’t stick to the ribs (no pun intended). Prior to smoking, 1/4 cup per rack of rub goes on, which will make that amazing bark we are going for.
The Smoke
Applewood is my favorite wood for ribs. You can also use cherry or a combination. Maple is too subtle for my taste, while hickory and mesquite are too strong. Learn more about the best woods for smoking.
The Sauce
Use your favorite BBQ sauce or make your own. My sweet and tangy sauce really is perfect. You can make it while the ribs are smoking and it gets basted on the ribs after they smoke for about an hour.
Get the Sweet & Tangy BBQ Sauce recipe »
The Cooks: Times and Temps
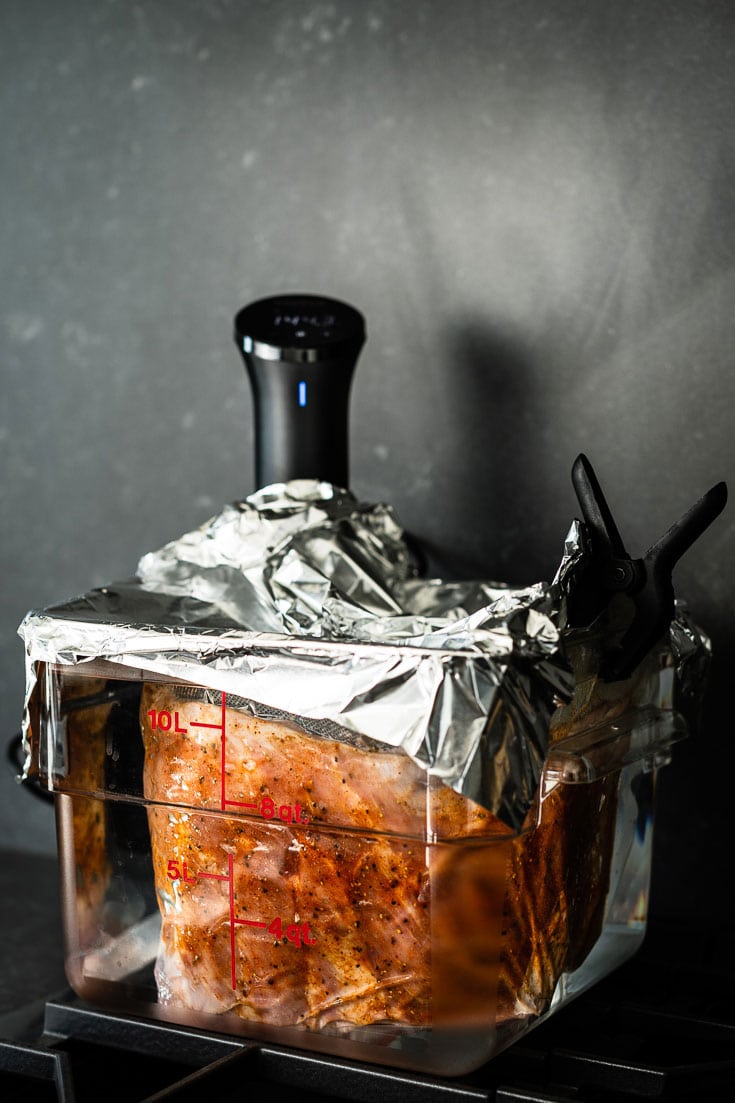
This is a very long cook in the sous vide bath (24-30 hours), but the good news is that part is totally hands-off once they are in the bath, and you can do it days ahead of time to make life easier.
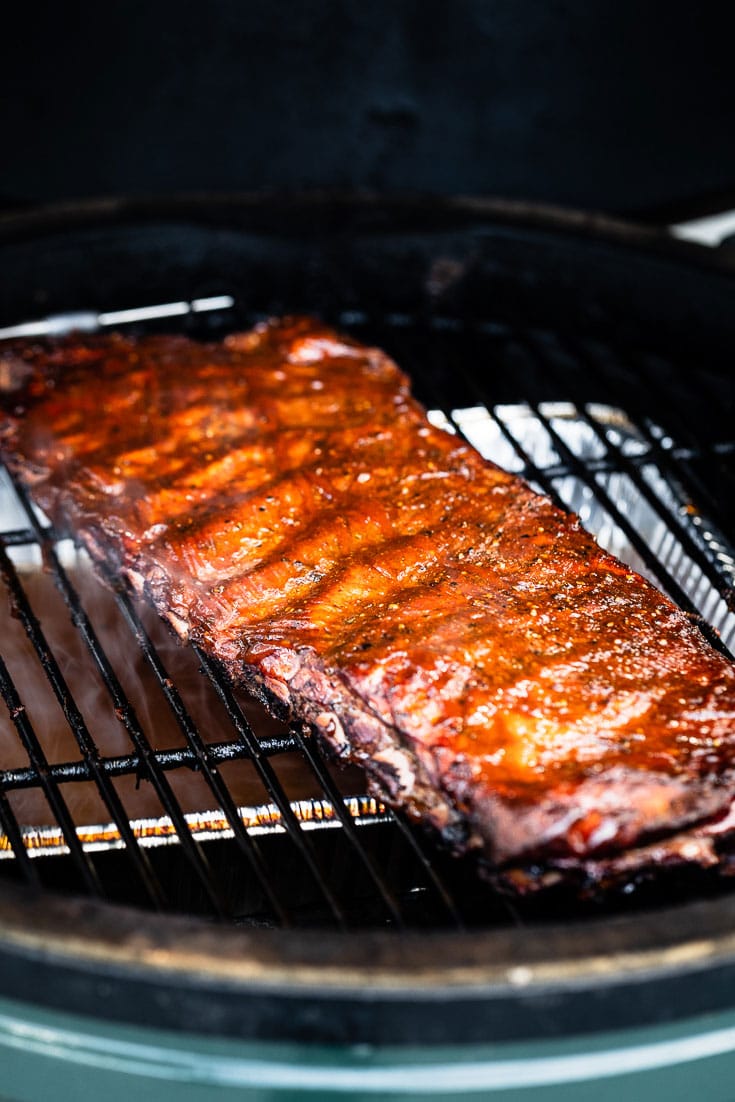
The smoke is where you get some of the time back: a quick 90 minutes, versus 6 or so hours with the traditional method of smoking ribs the entire time in the smoker. And the texture is much better and more consistent with sous vide. A good coat of rub is applied before this quick smoke, along with a slather of BBQ sauce after an hour in the smoker.
For an in-depth read of the different texture options, check out Serious Eats who tested all the variations.
The perfect texture (for me and most people I know) is one with just a little bit of chewy, not rubbery, but not too fall-apart either. This is what these times and temps are optimized for. See the Serious Eats post for more options if you prefer a different texture.
| Cook | Temp | Time |
| SV Water Bath | 148° F / 64° C | 24 to 30 Hours |
| Smoker (Indirect Heat) | 250° F / 121° C | 1 1/2 Hours Total |
Finishing in the Oven
If you don’t have a smoker (or just want to keep things inside for this one), you can definitely finish the ribs in the oven using these same times and temps. You will want to add liquid smoke and/or use smoked salt in the vacuum seal bag if you still want a smoky flavor. If it’s not something you will miss, you can leave that out.
Special Tools & Equipment Used
- Large Vacuum Seal Bags
- Vacuum sealer
- Water bath container
- Sous vide precision cooker (circulator)
- Smoker
- Applewood chunks for a charcoal smoker or pellets
- Sheet pans
- Hi-temp basting brush
Smoked Sous Vide Ribs
Ingredients
- 1 rack pork ribs
- 1/4 tsp. Diamond kosher salt (per pound of ribs)
- 1/2 cup rib dry rub
- applewood chunks or pellets
- BBQ sauce (plus more for serving)
Instructions
Sous Vide the Ribs
- Prep the ribs by cleaning and removing the membranes and rinsing with cold water. Season with salt and a light dusting of rub (maybe 1/8 cup).
- Bag and vacuum seal the ribs.
- Place in the water bath at 148° F / 64° C and cook for 24 to 30 hours. Make sure to cover the bath to prevent excess evaporation in such a long cook.
- Remove the ribs from the water bath and place on the counter for 10 to 15 minutes, then submerge in an ice bath for 30 minutes or until fully chilled. This gives the ribs time to absorb some of the juices and to not shock them in the ice bath right away.
- Refrigerate until you are ready to finish them in the smoker, up to 5 days.
Smoke the Ribs
- Prep and preheat the smoker to 250° F for indirect heat cooking according to the manufacturer's instructions with a water drip pan in place.
- Remove the ribs from the bag, leaving them wet as they will absorb more smoke and the rub will stick. Dust on 1/4 cup of dry rub per rack.
- Place in the smoker and cook for 1 hour.
- After 1 hour, baste on the BBQ sauce on both sides. Continue to cook for 30 more minutes, applying sauce again after 15 minutes.
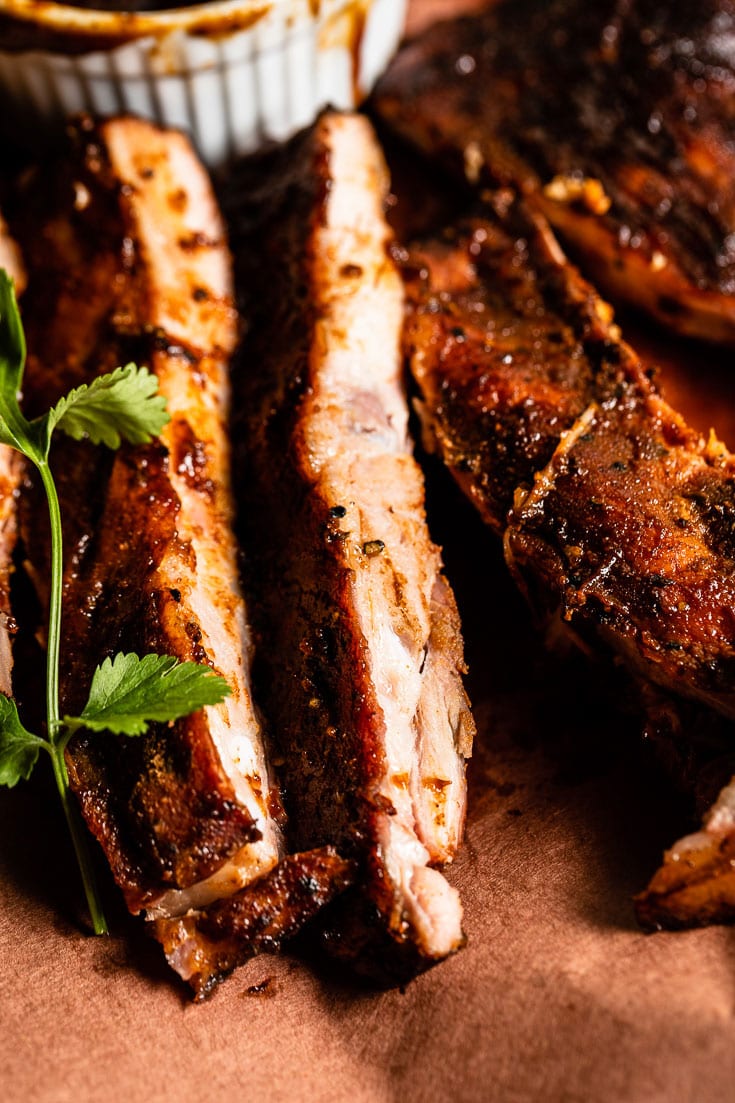
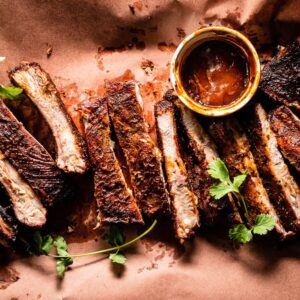
- Remove from the smoker and serve immediately or wrap in butcher paper and keep warm in a cooler to serve later with more BBQ sauce.
Video
Notes
- This recipe is for one rack, but you will want to scale it up to more. Figure 2 to 3 people per rack depending on what else you are serving.
- If your vacuum seal bags aren’t large enough for the whole rack, you can cut the racks in half. Double bag if you are concerned about a breach with the long cook.
- It’s not necessary to preheat the water bath since the cook is so long.
- Feel free to experiment with different times and temps for the water bath.
- If you want more of a sear and color, you can lightly grill or torch the ribs after smoking.

Made them and everyone loved the texture and still having a great smoky flavor. Will definitely be making them again all summer long.
Have you tried lower temp. I go 136F/36 and then finish on BBQ bring up to 170F but I will try your time/temp. My local market has Prime Boneless Beef Short Ribs on sale so I’m definitely going to use you recipe for those
Hey David. The ribs in this recipe are actually pork ribs. I have sous vide boneless short ribs, but not smoked them after. It’s definitely on my list to try. Times and temps might need some modification for beef ribs. 🙂
Thank you for all of the detail! Line by line! Love it!!!
Absolutely! Hope they come out wonderful for you.