Like the fried chicken your mama used to make, only easier and better, with more consistent results.
Fried chicken is an edible poem everyone knows; it’s the culinary The Road Not Taken. A sensory journey between the first savory crunch and a groaning fullness. You bite through the crisp ridges, followed by the tender, juicy flesh on the inside.
As a little bit of hot oil hits your lips as you completely ignore the mess you are making. You just can’t stop eating it. And why would you? It’s one of the most satisfying meals there is, and not just in the American South: Many cultures have their own wonderful versions of fried chicken dishes.
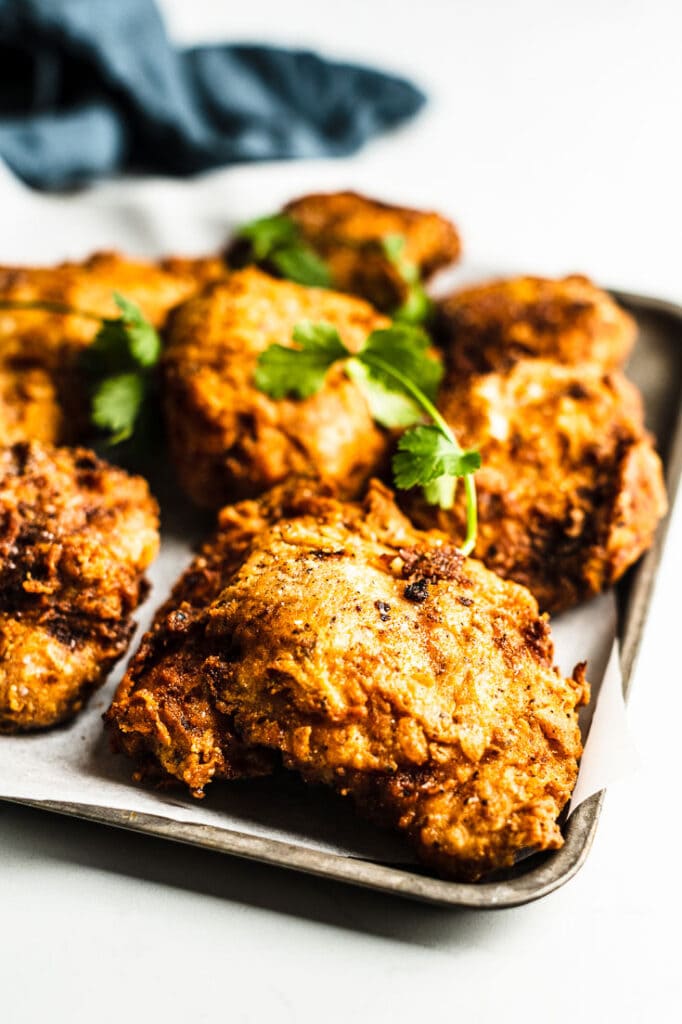
Now, if you love fried chicken, you likely also feel the opposite when it comes to making it. Getting the chicken perfectly cooked all the way through with different size pieces, while still making it crunchy, is no small challenge.
This is where the sous vide technique comes in. And you might be wondering, why the heck would you sous vide the chicken in a water bath first instead of just frying it?
Let me tell you: Taking this step allows you to perfectly cook the chicken all the way through, while keeping it juicy and tender after frying. After it is cooked in the water bath, that’s when you dredge it in buttermilk and seasoned flour and fry it up to crispy perfection.
A two-step cook. Does sous vide seem like an extra step? I’m going to say no. You are likely already either frying the chicken twice or frying it and then transferring to the oven to finish the cook. So really, it’s not an extra step
Benefits of Sous Vide for Fried Chicken
- Safer: No need to worry about cross-contamination when dredging after it’s cooked sous vide.
- You can work ahead: You can precook the chicken, then just quickly fry it right before you are ready to eat.
- Consistently cooked: The chicken will be cooked all the way through, without the risk of some being underdone (yuck) and some overdone (also not great).
- Less stress: Serving undercooked chicken is never something we want to do due to the risk of food-borne illness.
- Quicker fry: The chicken is already fully cooked, so you can quickly fry it at a higher temperature.
- Optimal crunch: Frying at a higher temp, since you don’t have to cook the chicken, just gets the best crispy crunch. Cooking it ahead removes extra moisture in raw chicken going into the oil.
- Batch fry: Super easy since it takes about 4 minutes to fry, rather than a lot longer.
The Ingredients
- The Chicken: I often use a whole chicken and break it down into parts, but buying pre-cut pieces is certainly easier. And any type piece individually will work, so pick your favorite and buy a bunch; I like to go with thighs. You can get boneless, skinless thighs for sandwiches, or bone-in if you want to eat with your hands and eat around the bone.
- Buttermilk or Egg: Gets the flour to coat the surface of the chicken. You can use egg, as traditional recipes soak the chicken for hours in buttermilk as essentially a brine, and sous vide chicken doesn’t need brining.
- Flour: Any all-purpose flour will do.
- Seasonings: Add these to the flour to embed lots of flavor in the crunch. I use kosher salt and pepper, paprika, chili powder, garlic powder, onion powder and cayenne pepper. You can customize to make it your own and what you have in your pantry.
- Oil for Frying: Canola, peanut or other neutral oils will work. Definitely no olive oil.
Top Tips for Success
- Any type of chicken will work. I prefer thighs, but if you like breast, wings or drumsticks, or a variety, it’s all good. Sous vide makes sure all the pieces will be perfect.
- Slice the chicken thinner or butterfly before dredging and frying when you will be making sandwiches. This will make it easier to eat the sandwich, plus give more crunchy surface area.
- Make ahead – You can cook the chicken sous vide and chill in advance of frying.
- Don’t overcrowd the pieces in the oil or it will cool down and not crisp as quickly.
- Fry in batches to use a smaller frying pot and less oil.
- Fry at a higher temperature than normal since the chicken is already fully cooked and you are just browning it.
- You can use an egg wash instead of buttermilk to get the flour to stick.
To Brine or Not to Brine?
Normally, you want to brine your chicken before frying. However, when you sous vide it prior to frying, I find it’s not necessary. I will be doing more testing on this, but for now, I say no brine is necessary, especially when going with dark meat like the thighs.
Special Tools & Equipment Used
You can see the equipment used (below) or check out the post all about Essential Sous Vide Accessories.
- Immersion circulator (sous vide machine)
- Vacuum seal bags
- Water bath container or large pot
- Containers for dredging
- Pot for frying (I prefer a cast iron dutch oven as it helps retain heat to keep the oil temp high.)
- Thermometer for testing the oil temp. You can use a probe but I prefer an infrared gun so you don’t inadvertently touch the oil.
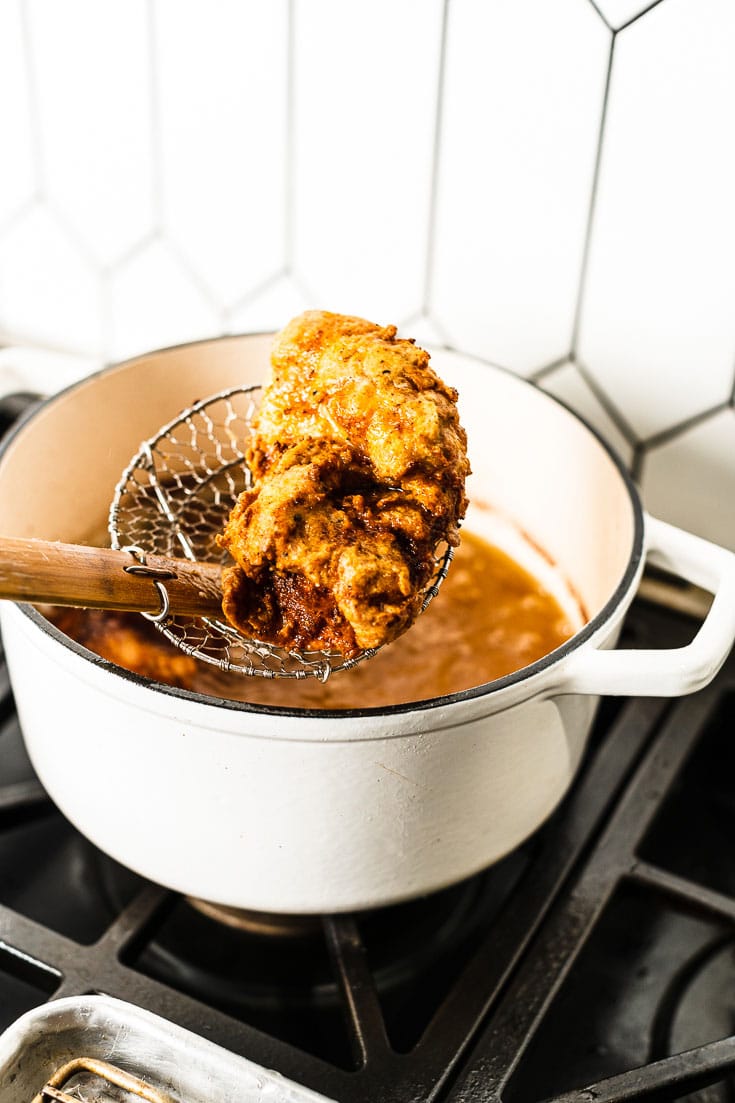
- Spider or slotted spoon
- Sheet pan + cooling rack
Make It a Sandwich
With a few more components, turn this amazing fried chicken into a memorable sandwich that will compete with all the chicken chains that have their own version. Go with high-quality brioche buns, bread & butter pickles, creamy coleslaw or butter lettuce, Sriracha mayo and, of course, this fried chicken.
I recommend slicing the thighs or breasts into thinner pieces, which will be more sandwich-friendly.

Sous Vide Fried Chicken
Ingredients
- 3 lbs. chicken thighs (or any parts of the chicken)
- 1 1/2 cups buttermilk
- Canola or peanut oil for frying
Seasoned Flour / Dredge
- 2 cups all-purpose flour
- 1 Tbsp. Diamond kosher salt
- 1 tsp. freshly ground black pepper
- 1 tsp. smoked paprika
- 1 tsp. chili powder
- 2 tsp. cayenne pepper
- 2 tsp. garlic powder
- 2 tsp. onion powder
Instructions
Sous Vide the Chicken
- Preheat water bath to 155° F / 68°C.
- Prep the chicken by liberally seasoning it with kosher salt, and place in a bag in a single layer and vacuum seal.
- Place the bag in the water bath (clip to side) and cook for 1 1/2 to 2 hours.
- Chill the chicken in an ice bath for 15 minutes.
Dredge the Chicken
- Place the buttermilk in a large container or bowl.
- Mix seasoned flour ingredients together in another large container or bowl.
- Remove the cooked chicken from the bag, and pat dry with paper towels. Dip the chicken in the seasoned flour, then into the buttermilk, then back into the flour. Lightly shake off any excess.
Fry the Chicken
- Preheat enough oil to cover the chicken pieces to 375° F / °190° C.
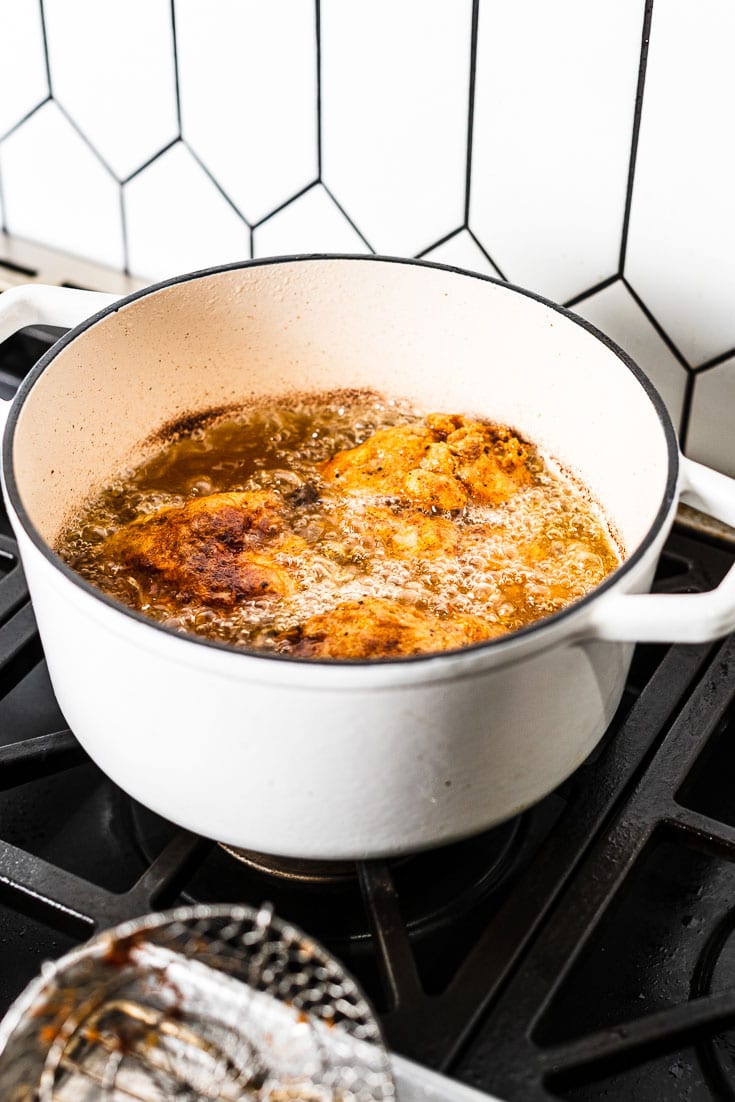
- Carefully lower chicken pieces into the hot oil and fry for about 3 to 4 minutes or until golden brown. Use a spider, slotted spoon or tongs to maneuver the chicken pieces so they fry evenly.
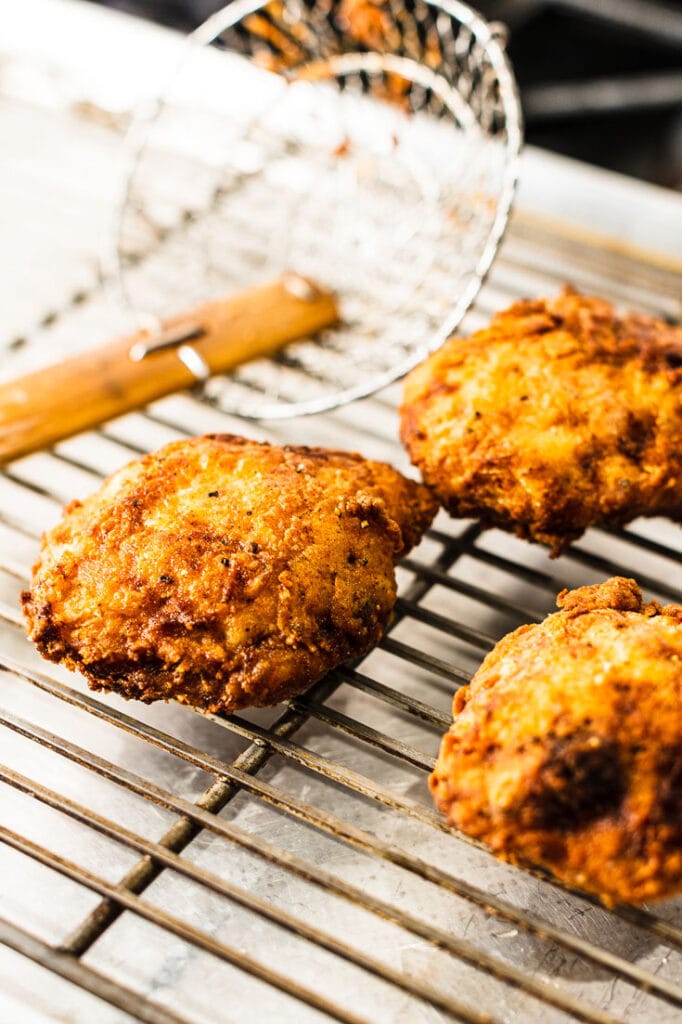
- Remove from the oil and place on a sheet pan with a cooling rack. Season with a sprinkle of kosher salt and serve immediately.
Video
Notes
- Recipe can easily be scaled up.
- Any type of chicken can work. I prefer thighs, but if you like breasts, wings and/or drumsticks, or a variety, it’s all good. Sous vide makes sure all the pieces will be perfect.
- You can brine the chicken ahead of time, but it’s not necessary with sous vide. Just season it with kosher salt ahead of time.
- You can cook the chicken sous vide and then chill in advance of frying.
- You can use an egg wash if you don’t have buttermilk. Whisk 3 eggs with 1/4 cup water or milk,
- Can fry in batches to use a smaller frying pot and less oil.
- Fry at a higher temperature than normal since the chicken is already fully cooked and you are just browning it.
- Don’t overcrowd the pieces in the oil or it will cool down and take longer to brown.

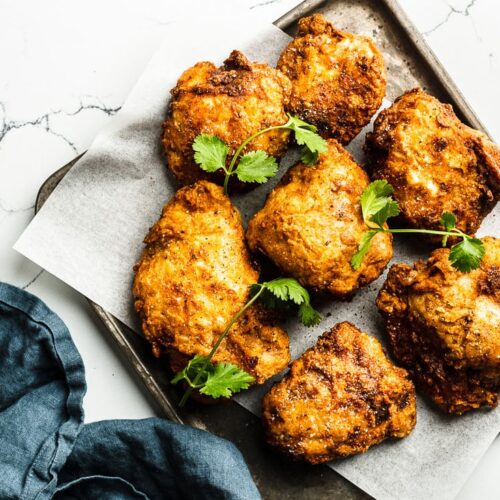

Super-tender and perfectly cooked, with a terrifically crunchy coating!