The gasket is one of the most important parts of the Big Green Egg’s performance. It’s something that needs to be replaced at least every few years, depending on use and conditions.
I was in search of a better solution to the standard BGE felt gasket, and that’s where I landed on the Rutland Gasket. I’ll show you what I used and how I installed the superior Rutland Gasket so you can do it too.
What is a Rutland Gasket?
A Rutland gasket is a high-performance fiberglass woven material designed to withstand extreme temperatures up to 2,000 degrees. Unlike traditional felt gaskets, this premium replacement offers superior durability, heat resistance, and long-term performance for your Big Green Egg.
Why Upgrade to a Rutland Gasket
The benefits are numerous. The biggest is that it lasts much longer and it is actually cheaper than the felt gasket.
- Extreme Temperature Resistance – Withstands temperatures up to 2,000° F, significantly higher heat tolerance than standard felt gaskets.
- Longevity – Eliminates the need for frequent replacements. Reducing maintenance needs and making a better cooking performance.
- Lower Cost – When you order your gasket from Ron Pratt, he will send you the gasket material at his cost plus shipping. Mine only cost $11.

Supplies and Tools List
Before you begin, gather these materials and tools The only absolutely necessary supplies are the Rutland gasket itslef and the Permatex, which is the high-temp silicone adhesive.
- Rutland gasket material – Email Ron Pratt and he’ll send you the gasket cut to length at his cost (mine was $11)
- Permatex Ultra Copper Silicone Gasket Adhesive
- Paint Scraper for removing the old gasket
- 3M Paint and Rust Stripper attachment: Paint and rust stripper attached to an electric drill for removing the stuck-on adhesive of the old gasket.
- Butcher paper, foil or a trash bag – whatever you have to block debris from getting into your egg.
- Scouring Stick
- Sharp scissors
- Shop Vac
- Wax paper or aluminum foil
- Straight razor blade (optional) for trimming off excess adhesive.
How to Replace Your Big Green Egg Gasket
The Rutland Gasket is only installed on the bottom rim of the Big Green Egg, but you will need to remove your old gasket from the top and bottom. Removing the lid to do this job is optional, but will make it easier to remove the old gasket.
For the actual installation, the most important thing to know is you will need to condense the stretched out gasket material as you go (step 5) so it covers the width of the egg’s edge.

Step 1: Prep and Protect
Cover your grill’s interior with butcher paper, foil, a trash bag, etc secured with tape to prevent debris from falling in as you clean off the old gasket.
Wear protective glasses and gloves for the gasket removal step as it can get pretty messy.
Removing the lid is optional, but will make removing the old gasket much easier. I left mine on.

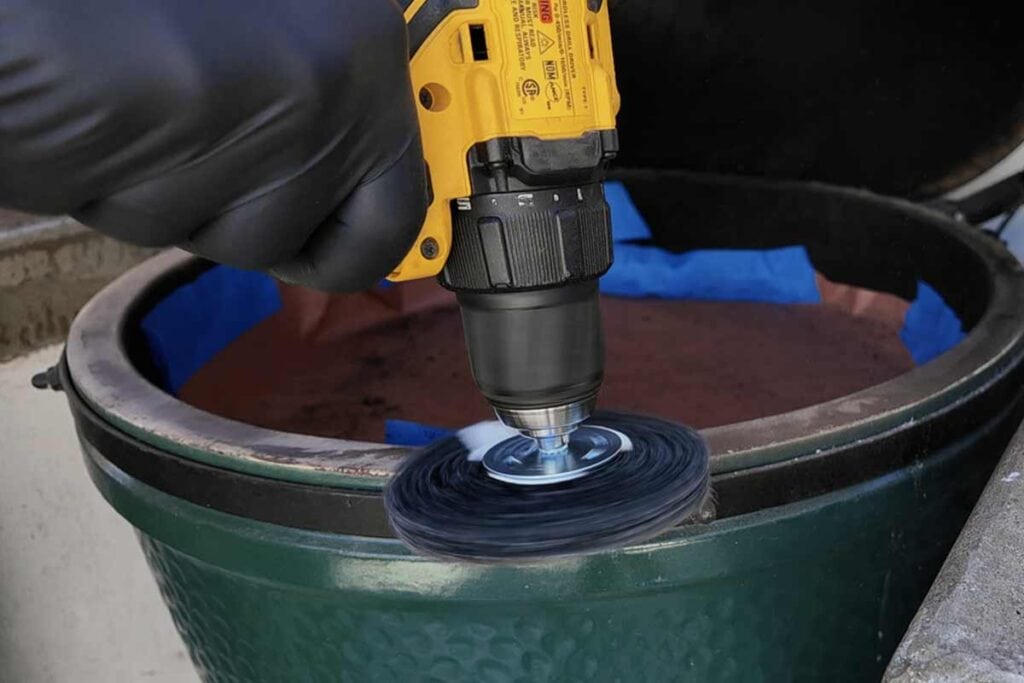
Step 2: Remove the Old Gasket
This is the most tedious step. Start by removing the existing felt gasket using a paint scaper. Then use the rust stripper attachment on your drill to carefully remove any stuck-on adhesive. Follow with a pumice stone to clean minute particles from the edge. Avoid wire brushes or harsh chemicals, as they can damage the ceramic surface and prevent proper adhesion.
If you prefer, you can use acetone to remove the resdue. It doesn’t always work well though in my experience.

Step 3: Mark Your Guidelines
Fold the Rutland gasket in half and mark the center with masking tape. Repeat to mark quarter points. Mark the “four corners” of your egg (12, 3, 6, and 9 o’clock positions) with masking tape. These reference points ensure proper compression during installation.
The 84-inch Rutland gasket will compress to fit the 67-inch circumference of your egg. This compression is crucial – when properly installed, the 5/8-inch gasket should expand to cover the entire 1-1/4 inch edge width of your egg.

Step 4: Apply Adhesive
Starting at the back center and working in 4 to 5-inch sections, apply a bead of the Permatex to the clean edge. You can use a putty knife to slightly butter the bead of adhesive to flatten it out and create uniform edge.

Step 5: Install the Gasket
Press the compressed gasket into the wet adhesive, ensuring full edge coverage. Use a wax paper-covered block of wood or wallpaper roller to press firmly. Work section by section, checking your quarter marks for proper compression as you go.
Step 6: Complete the Circle
When you reach your starting point, make a clean cut with sharp scissors for butted ends. If the ends are frayed, you can later melt them off with a butane torch.
Step 7: Cure the Installation
Cover opening with wax paper or aluminum foil to prevent any excess adhesive from seeping through onto the lid of the egg. Carefully close lid (making sure it is aligned correctly) and allow 24 hours for complete drying of the Permatex.
Clean excess sealer that seaped out with a straight razor blade (don’t do it before it dries).
After curing, I did a non-cooking burn for a hour to burn off anything before using it to cook.
Tips for Success
- Check lid alignment before gasket installation (if you aren’t removing the lid first). This is super important so you don’t mess up your new gasket.
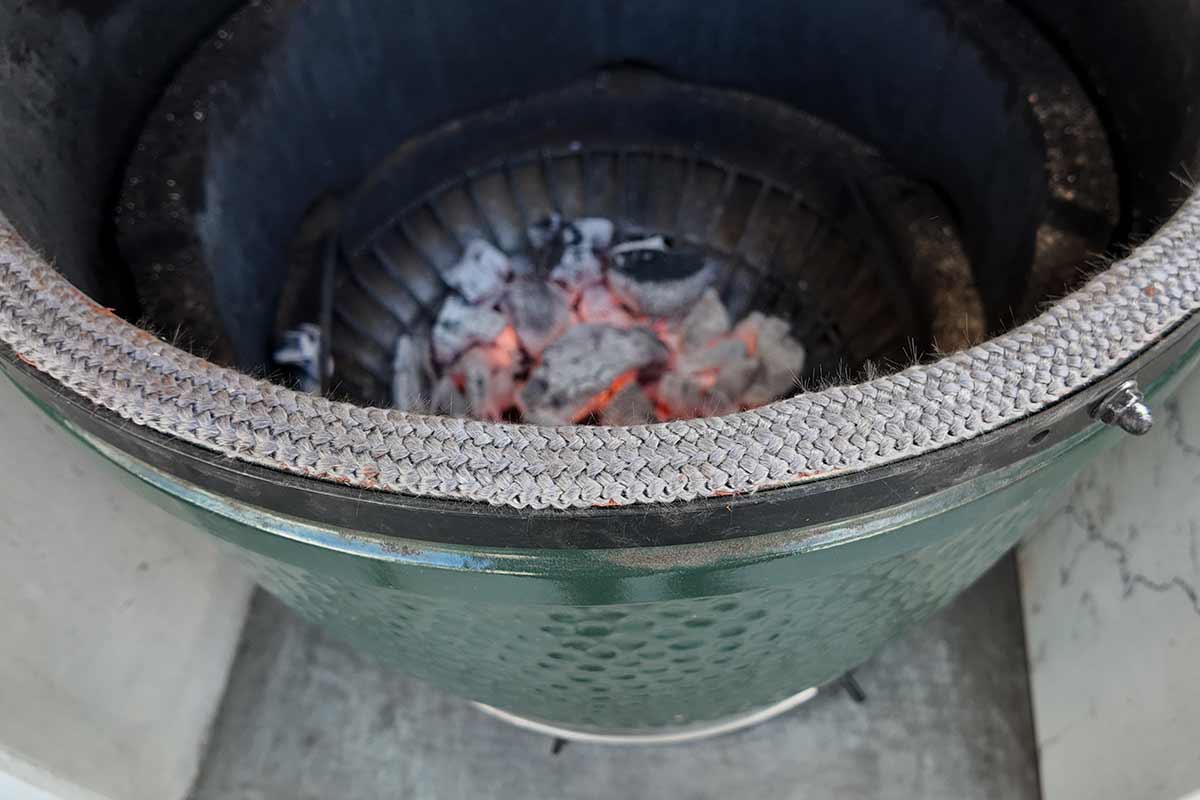
- Bottom install only – Unlike the original felt gasket, the Rutland gasket only needs to be installed on the bottom portion of the egg – no top installation required.
- Give the Time for the Install – Once you are read to do the actual gasket install, be sure you have enough time to finish the whole thing as the Permatex dries fairly quickly.
- Cleaning-Up Extra Adhesive – Wait until the enxt day after it dries, then use a straight edge knife to cut off any excess adhesion rather than trying to wipe it while it’s wet.
Final Thoughts
Upgrading your Big Green Egg gasket is a simple, cost-effective way to enhance your grilling and smoking experience. With a small investment of time and money, you can improve your egg’s performance, durability, and cooking consistency. Keep on grilling!