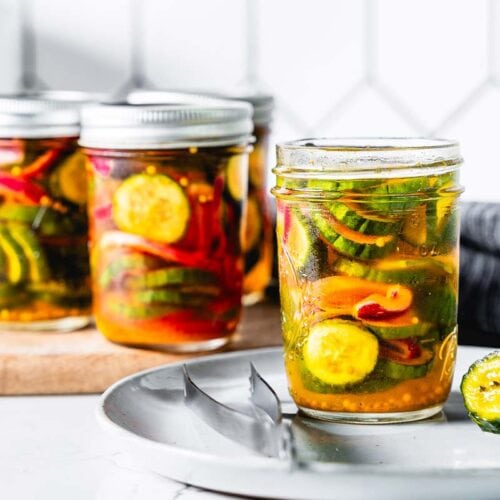
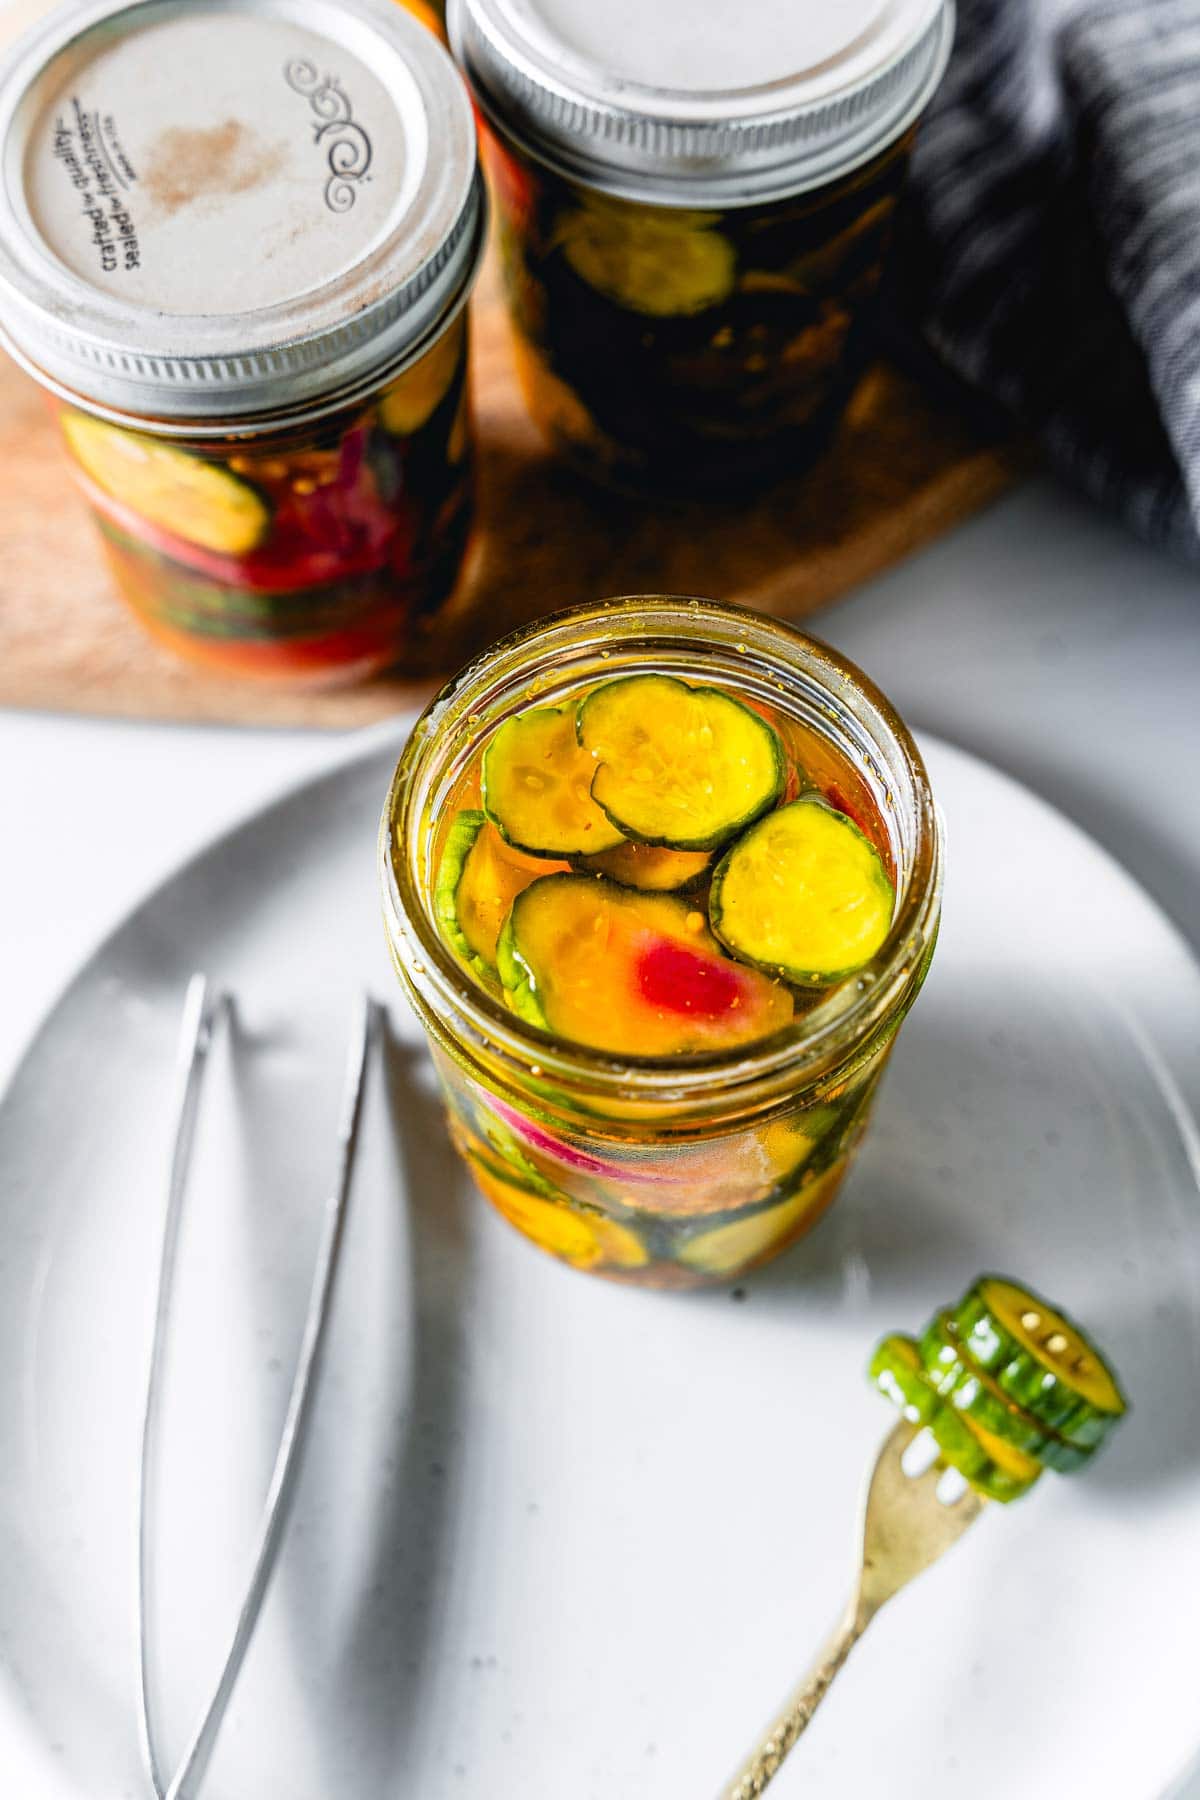
Crisp, sweet, zesty and refreshing, bread and butter pickles are quite a magical little condiment with so many uses. From their satisfying crunch, to their tangy dance on your tongue and a sweet finish. They just have a way of transforming a simple meal into a celebration of flavor and texture. And as you’ll soon find out, they are also super easy to make at home, so there’s really no reason to buy them at the store.
They are the perfect condiment for all BBQ, fried chicken, fried salmon, brisket, pulled pork, on sandwiches, and a side with ribs. You name it. There isn’t much that can’t benefit from these tangy and sweet little pickle bites.
What are Bread and Butter Pickles?
Bread and butter pickles are a type of sweet and sour pickled cucumber slices that have a distinctive flavor and crunchy yet tender texture. The sweetness comes from added sugar, while the signature tang is from either cider or white vinegar. Spices like mustard seed, turmeric, and cinnamon distinguish them from other pickled cucumbers.
Why You’ll Love Them
- Better than store-bought -Not only are they a fraction of the cost to store-bought (often $3 to $5 per jar), but the taste is superior and you know exactly what goes into them with no hidden ingredients. They are a great way to use home-grown cucumbers.
- Customizable to your taste – Tailor the spices to suit your palate and adjust sweetness or tartness as desired.
- Great for guests and as gifts – Jars of these little pickles are wonderful to bring to a BBQ or dinner party to share or as gifts.
- Kid-friendly – Kids absolutely love the flavor and crunch. They are a great gateway into pickled veggies.
What You’ll Need
- Cucumbers – The fresher the better.Go with a seedless pickling variety like Persian or other small seedless cucumbers. Slice the cucumbers into 1/4″ slices using a chef knife, mandoline slicer or a crinkle cutter.
- Kosher Salt – The salt is used to draw out moisture from the cucumbers, creating deliciously crisp pickles that can then absorb the brine.
- Onion (thinly sliced): Subtle sweetness, adds depth to the flavor
- Apple cider vinegar: The heart of the brine, offering a vibrant tang that dances with the sugar for a perfectly balanced sweet-and-sour. Simple distilled white vinegar can also be used or a combination of the two.
- Sugar – Balances the vinegar’s acidity and helps the pickles sweet.
- Turmeric – A vibrant golden hue and a touch of earthy warmth, this spice adds a visual and flavor dimension.
- Celery seeds: Adds a subtle celery accent and flavor complexity.
- Dried Mustard seeds: The tiny pops of and adds a slight heat to the brine.
- Garlic cloves (optional) – Adds a slight garlic essence and complexity to the brine.
- Mason jars (sterilized, size based on the desired yield) – You can go with a large jar or multiple smaller ones.
Step-by-Step Instructions
Let’s go through the steps for how to make these delicious bread and butter pickles. Jump down to the full recipe card for all the details.
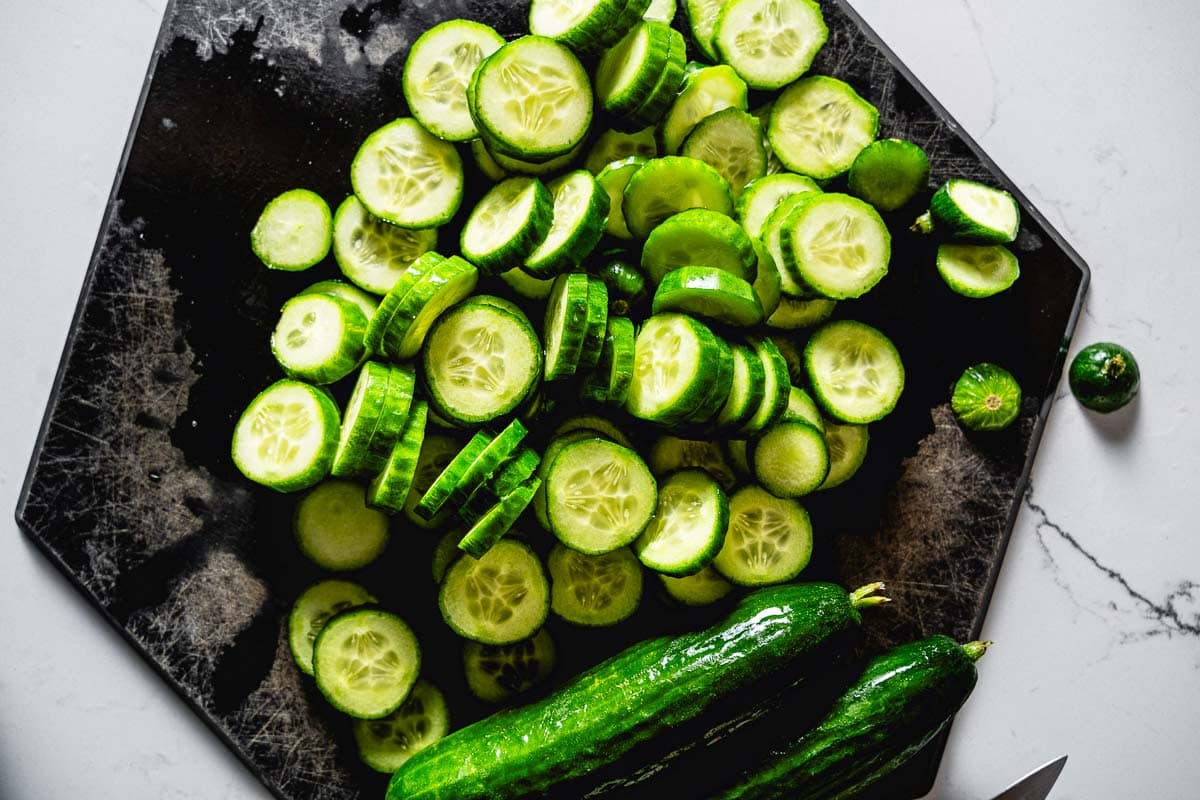
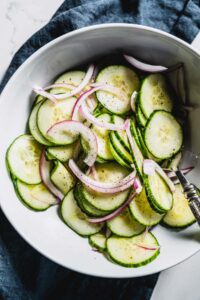
- Slice the Cucumbers: Using a vegetable mandoline, chef knife, food processor or a crinkle cutter for crinkly pickles, slice evenly into 1/4″ slices.
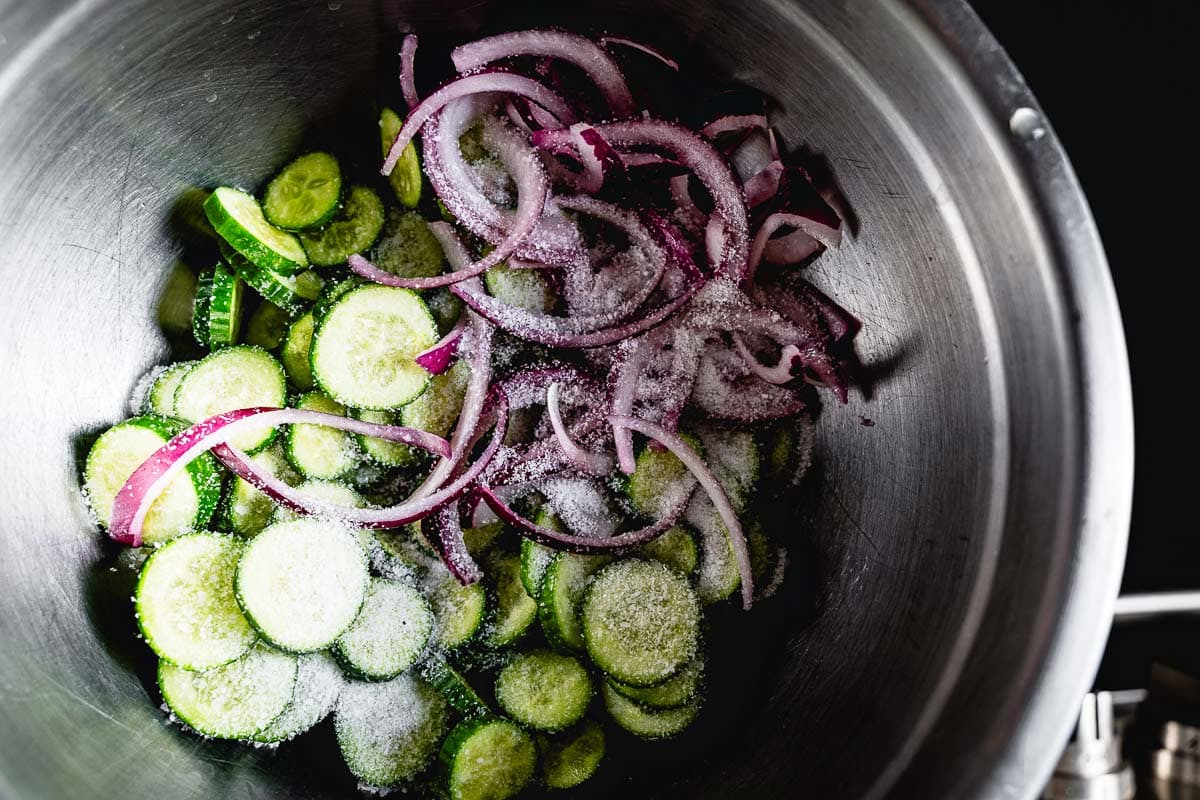
- Dehydrate for Crunch: Combine sliced cucumbers, onion, and optional bell pepper in a large bowl with salt. Toss well and refrigerate for 2-3 hours, ensuring all slices are coated with some of the salt.
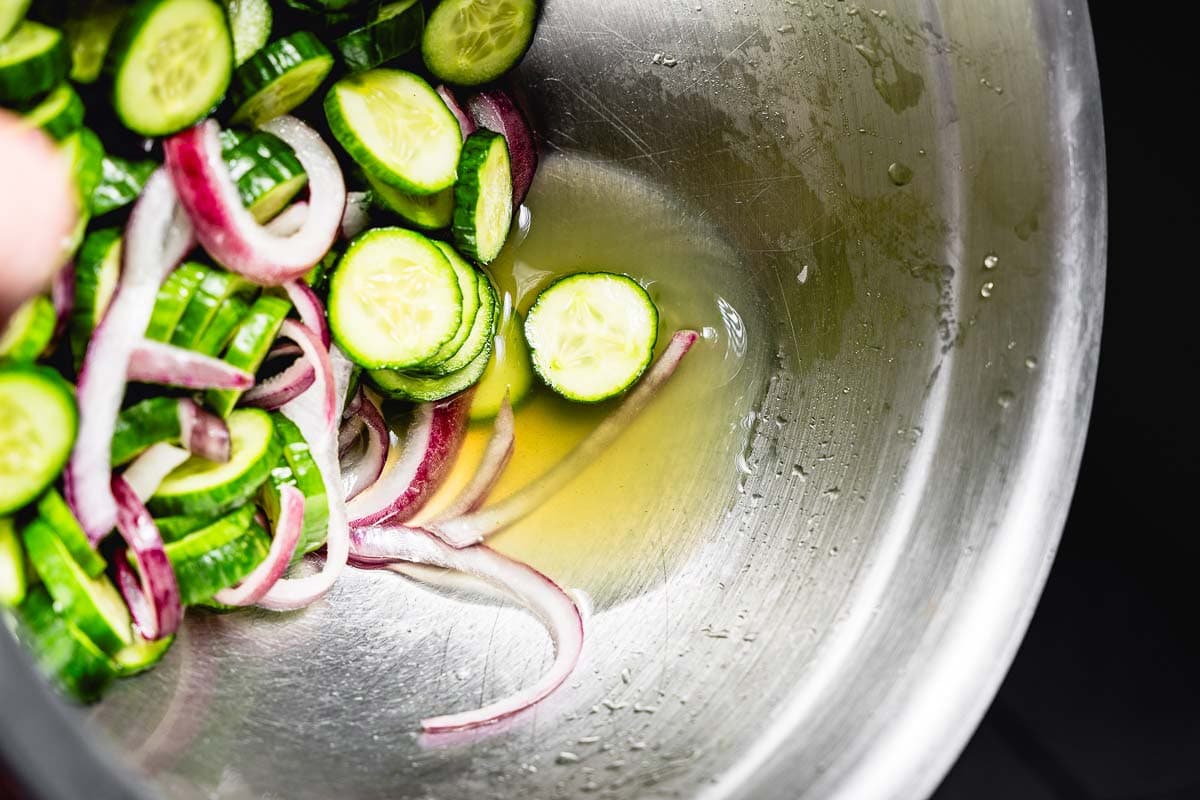
The dehydrating step extracts water from the cucumbers, allowing more of the brine to be absorbed and making for crispier pickles.
Would you like to save this?
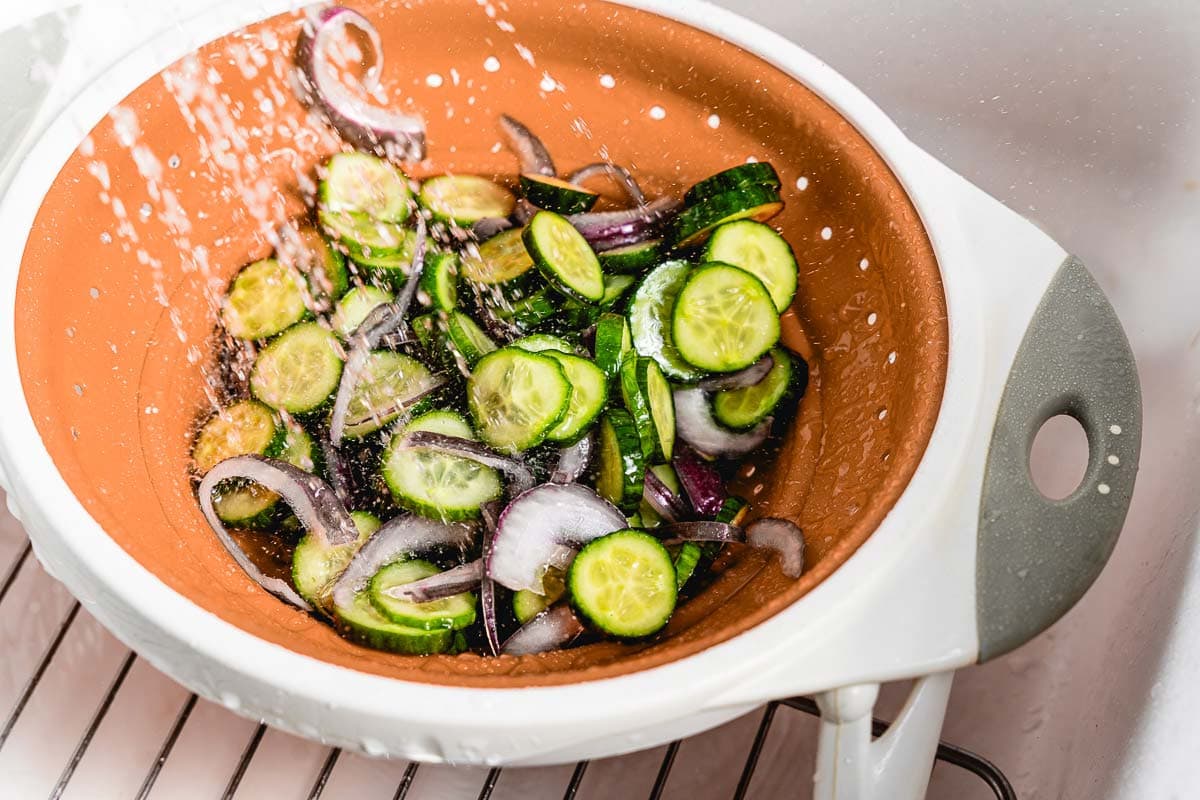
- Rinse: Drain in a colander and rinse with cold water to remove excess salt.
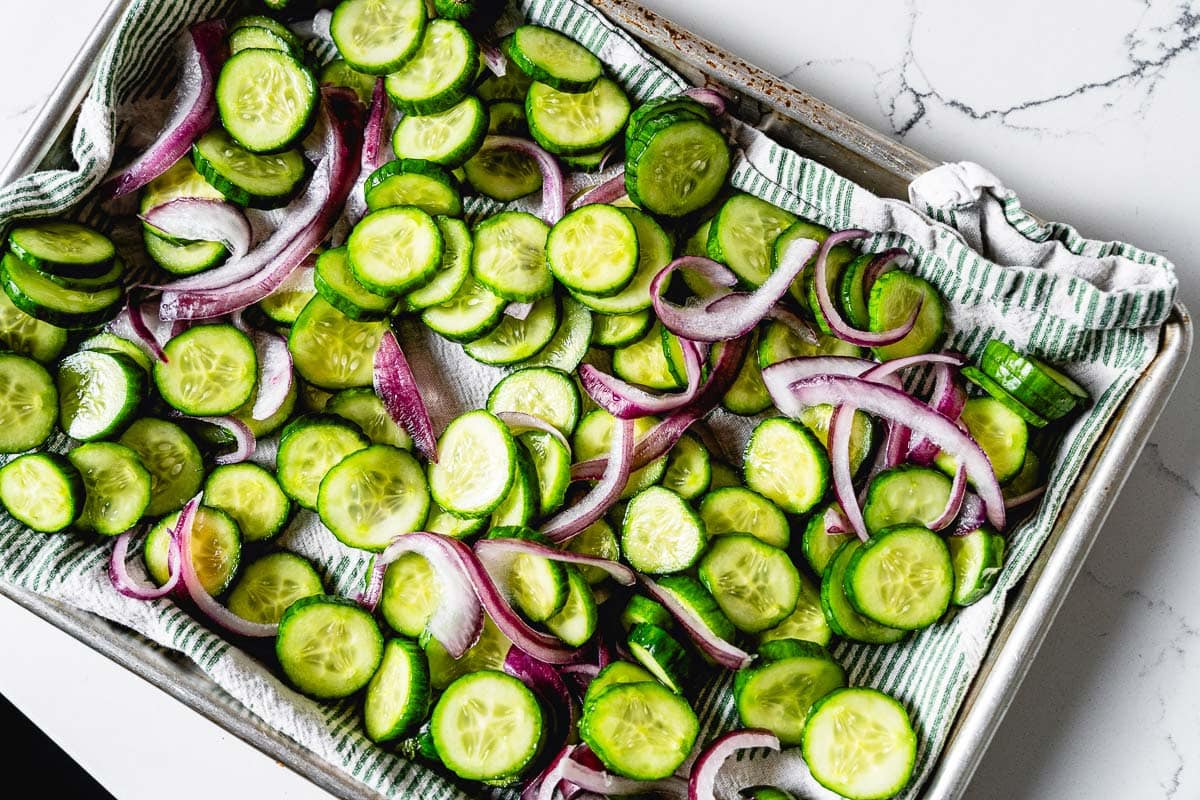
- Dry the Veggies: Spread the rinsed vegetables on a towel-lined baking sheet with a drying rack. Allow to air dry for a few hours or even better, overnight for optimal texture.
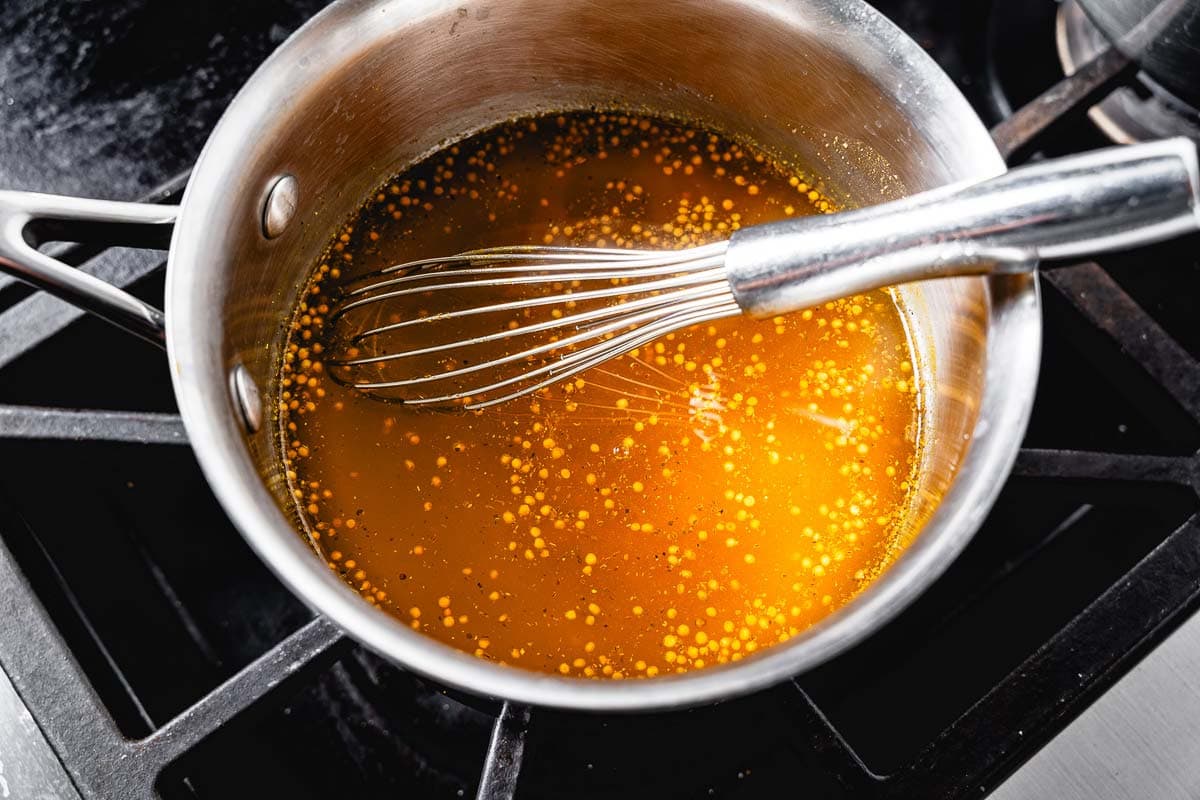
- Prepare the Brine: In a medium saucepan over medium heat, combine vinegar, sugar, turmeric, mustard seeds, and celery seeds. Bring to a simmer, stirring until the sugar dissolves completely.
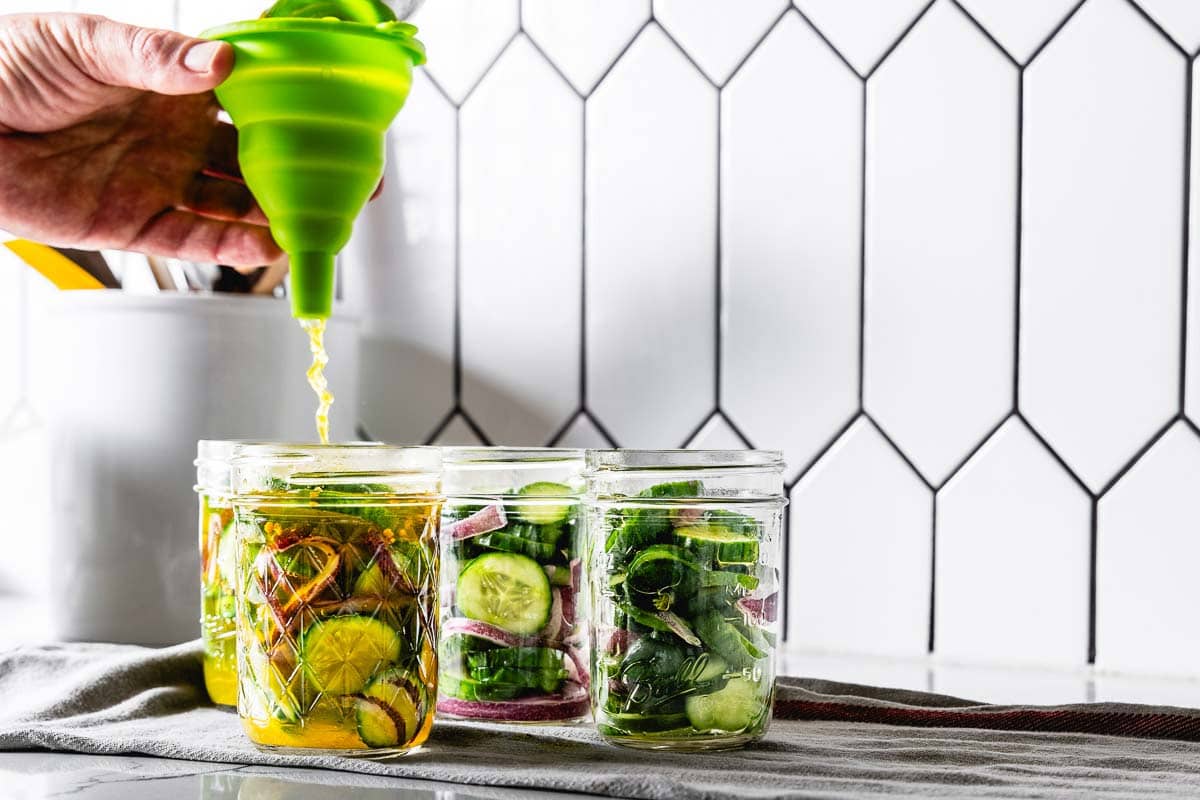
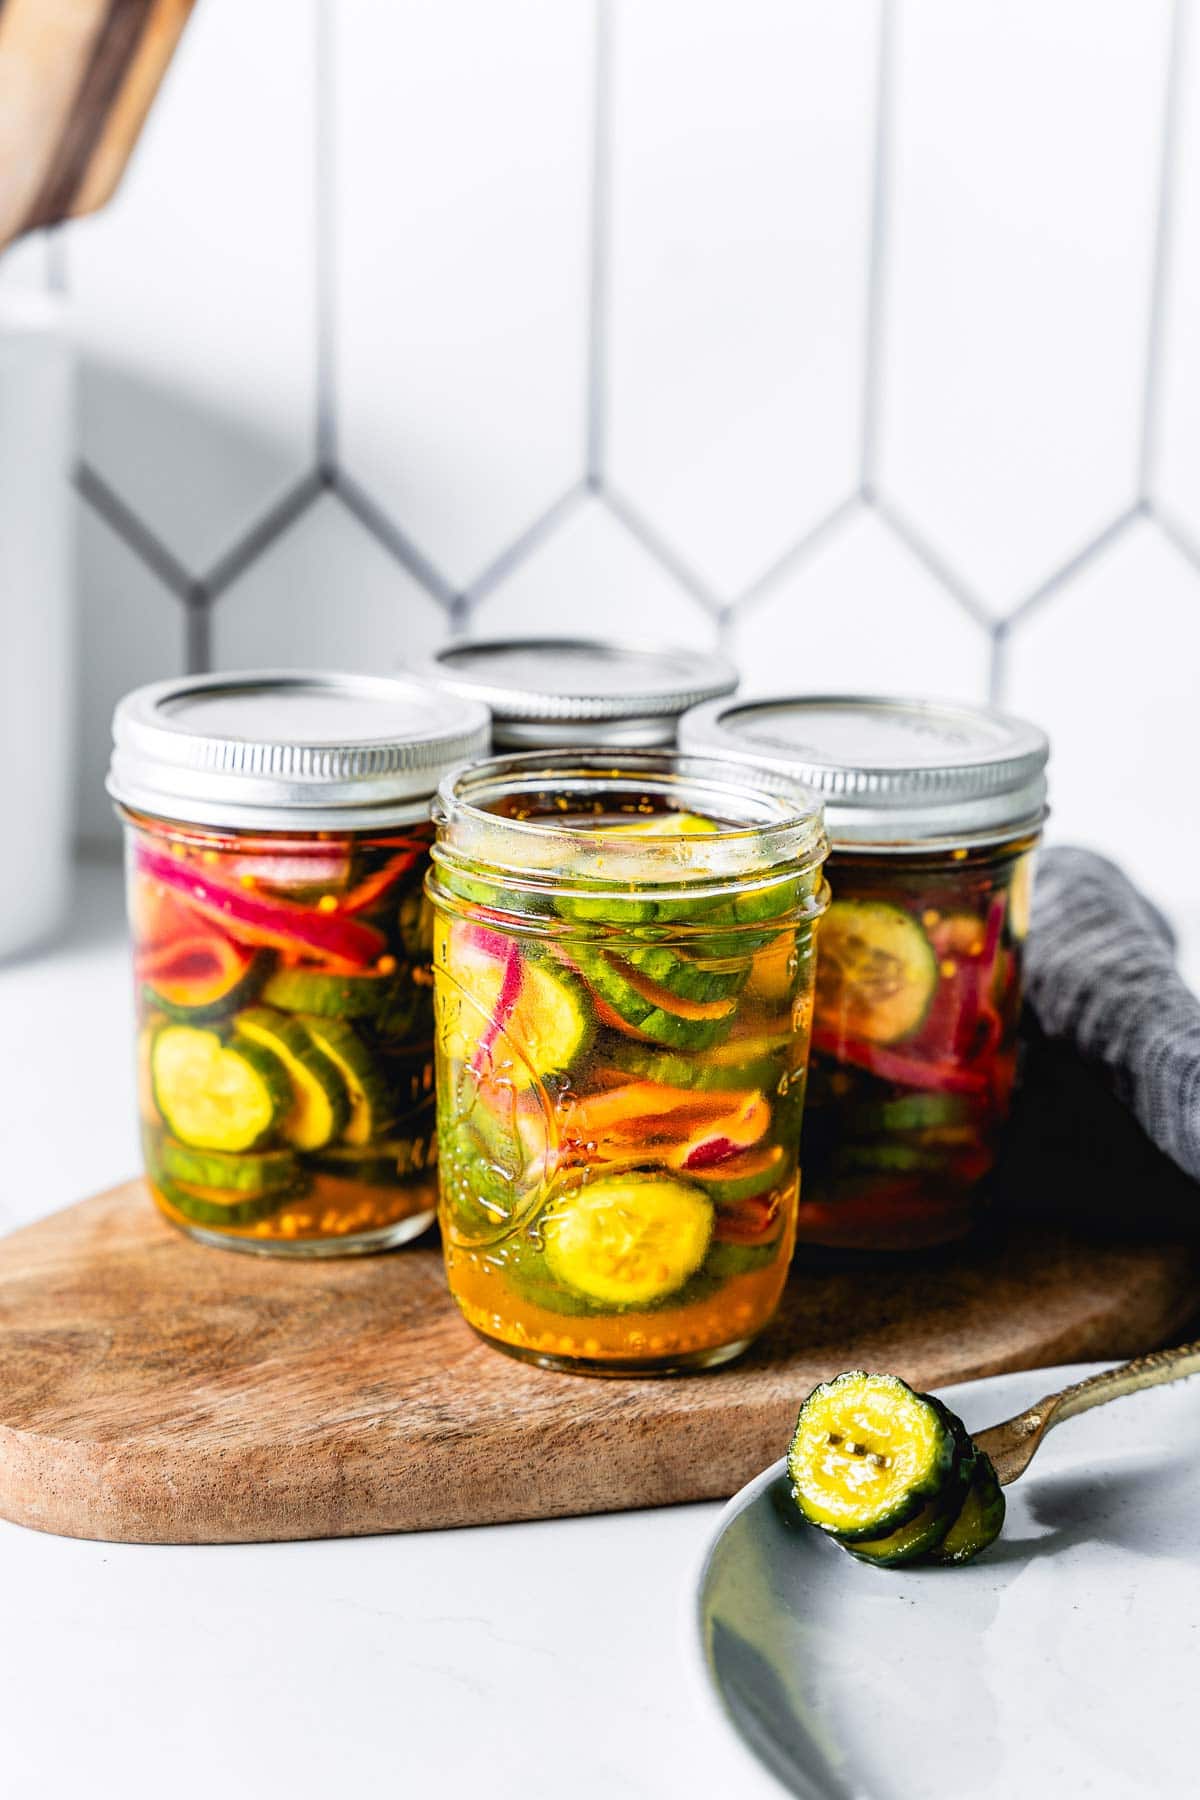
- Pack the Jars: Pack the dried vegetables tightly into sterilized mason jars (learn how to sterilize the jars), leaving 1/2 inch headspace at the top.
- Add the Brine: Carefully pour the brine over the vegetables in the jars using a ladle and a funnel, ensuring all of the vegetables are covered. Wipe the jar rims clean and secure the lids tightly with bands and rings.
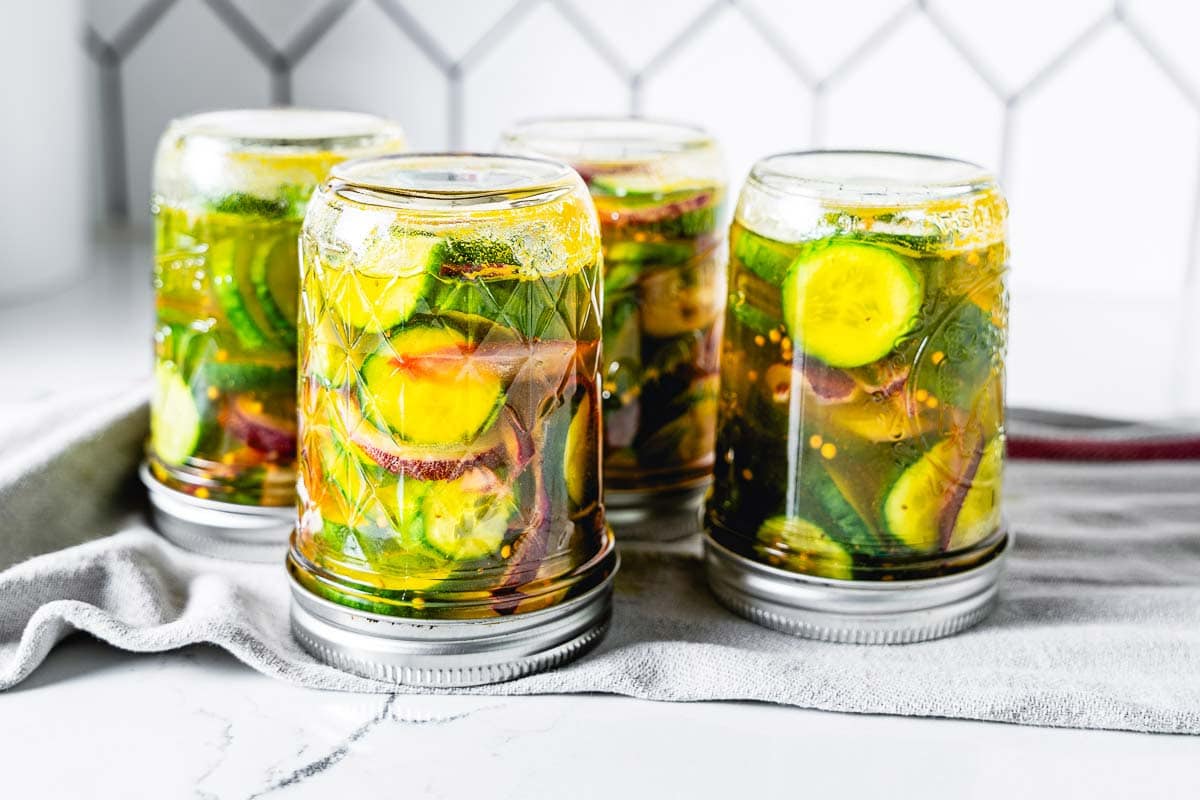
- Seal and Cool: Flip the jars over and place them on a clean kitchen towel. Let them sit for 5 minutes to allow for proper sealing. Allow the jars to cool completely before storing them in the refrigerator.
Storing
- Refrigerator: Store sealed jars in the refrigerator for up to 3 months. The flavors will continue to mature and mellow over time.
- Pantry: For longer storage, follow the water bath canning instructions in the recipe card. Properly canned jars can last up to 1 year in a cool, dark pantry.
- Once Opened: Always store opened jars in the refrigerator and consume within 2 weeks for optimal quality.
Uses for Bread and Butter Pickles
Bread and butter pickles aren’t just for sandwiches, though that is where they are truly amazing! Their sweet-tangy crunch elevates a variety of dishes. Imagine crispy slices atop juicy fried chicken, adding a vibrant counterpoint to smoky BBQ ribs. Nestled in pulled pork sandwiches, they offer a refreshing burst of flavor and balance to smoky meats.
Smoked brisket takes on a new dimension with its sweet and tangy bite, while a creamy potato salad and Hawaiian macaroni salad find welcome textural contrast in their delightful crunch. They are also great on a juicy hamburger.
More Recipes You’ll Love

Bread and Butter Pickles
Ingredients
- 1 lb cucumbers , sliced into 1/4" slices(choose crisp varieties like Kirby, seedless, or Persian)
- 1/2 medium onion , thinly sliced (about 1 cup, but adjust for preference)
- 1/2 red bell pepper , thinly sliced (optional)
- 2 tbsp Diamond kosher salt
- 1 1/2 cups cider vinegar (white vinegar, or a combination can also be used)
- 1 cup granulated sugar
- 1/2 cup water
- 1/2 tsp ground turmeric
- 1/4 tsp celery seeds
- 1 1/2 tsp dried mustard seeds
Instructions
- Dehydrate the Vegetables: Combine the sliced cucumbers, onion, and optional bell pepper in a large bowl with the salt. Toss well to coat and refrigerate for 2-3 hours (ensure salt reaches all slices). This draws out moisture, leading to crispier pickles.
- Rinse and Dry: Drain the vegetables in a colander and rinse with cold water to remove excess salt. Transfer to a towel-lined baking sheet with a drying rack and let air dry for 3 hours or overnight.
- Make the Brine: In a medium saucepan, combine the vinegar, sugar, turmeric, mustard seeds, and celery seeds. Heat over medium heat and bring to a low simmer, stirring until the sugar dissolves.
- Pack and Seal: Pack the dried vegetables tightly into sterilized mason jars (see sterilization instructions). Leave about 1/2 inch of headspace at the top of each jar.
- Fill and Seal: Bring the brine back to a boil and carefully pour it into the jars using a ladle and funnel, ensuring all vegetables are covered. Wipe the rims clean and secure the lids with bands and rings.
- Process and Cool: Flip the jars over and place them on a clean kitchen towel. Let them sit for 5 minutes to seal. Allow the jars to cool completely before storing in the refrigerator for up to 3 months.
Notes
- Recipe makes 4 – 6oz mason jars or 2 12oz jars.
- The pickles can be enjoyed after 1 day of pickling The flavor will continue to develop over time.
- For short-term storage, let the jars cool completely, then cover and refrigerate overnight before enjoying.
- For long-term storage, follow the USDA Canning Guidelines for safe preservation.
- You can adjust the amount of onion and bell pepper to your preference.
Feel free to experiment with different spices or herbs in the brine for a unique twist. - Tumeric can stain, so be careful with fabrics and countertops.