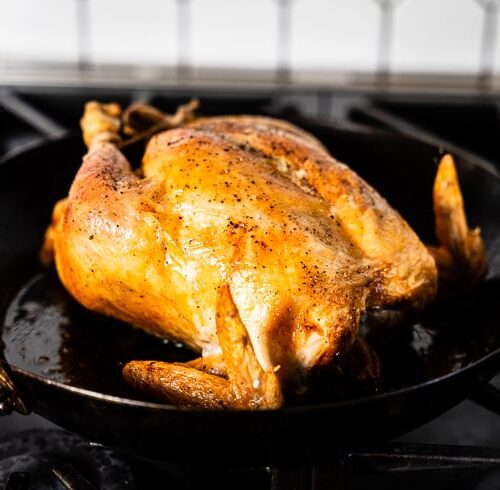
If you want to judge a restaurant or a chef, do it based on their roast chicken. And if you want to eat a delicious meal at home that tastes like it came from a restaurant, learn to master roasting a chicken.
This is the simplest method for the easiest whole roasted chicken.
If you don’t have a roast chicken recipe in your easy-dinner arsenal, this is the one. It comes in so handy. There are virtually endless uses for oven-roasted chicken. From a ready-on-the-quick dinner to shredded chicken tacos the next day (or the day after). It’s not just about the meal you are cooking for, but for all the uses of the leftovers.
Crispy skin for the win. Is there anything better than crispy chicken skin? Oven-roasting gives us that crinkly skin we crave.
What Makes It So Simple, and Why Simple Is Important
The humble roast chicken may be a simple recipe, but simple can be delicious. And mastery of simple things leads to mastery of more complex recipes. So this yardbird is a great baseline. And from here, you are ready to launch: A staple recipe like this can be altered and diversified into a dozen other dishes. More complicated recipes and methods are harder to personalize and generalize.
Salt Pepper Skillet is about approachable, delicious recipes, and this one epitomizes our approach: simple, tasty and versatile.
Is That a Whole Chicken in Your Freezer?
Keep a whole chicken (or two) in your freezer for times like these. Defrost the night before, season in the morning, and roast it when you get home.
Freezing a chicken doesn’t seriously affect the texture, so buying frozen is fine. I would recommend buying a chicken from a local farmer or a local butcher (they typically source locally) to get a high-quality bird. Barring that, look for labels from Certified Humane, Animal Welfare Approved or Global Animal Partnership to make sure your chicken is high-quality and meets the highest health and environmental standards. “Cage-free,” “natural” and even “organic” don’t mean much when it comes to broiler chickens.
Don’t Rinse Your Chicken
Rinsing does more harm than good. The FDA recommends skipping the rinse because of the bacteria that can be spread around your sink.
The Seasonings
This is simple: salt and pepper. But once you nail the basics, you can also experiment with spices you enjoy to change up the flavor. Maybe some paprika or a little chili powder. Lemon and thyme is a great pair. Have a look at my Chicken Dry Rub for ideas.
Season Early
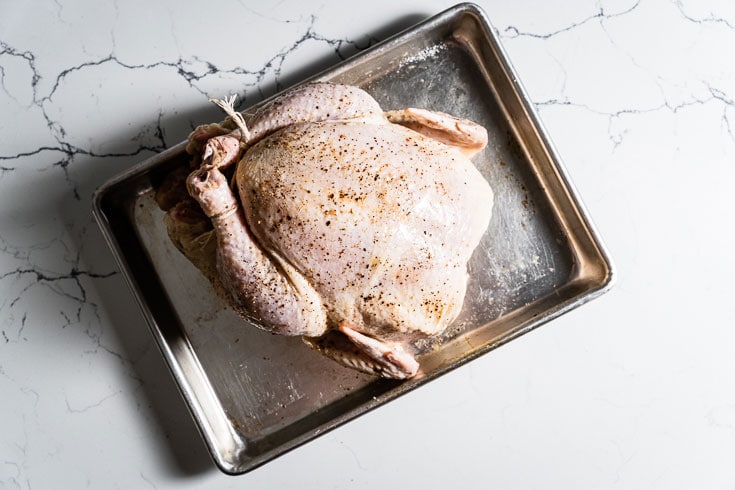
Makes sure to get that seasoning on the chicken early, at least a few hours before cooking. This allows the spices to infuse the skin and into meat, especially the salt.
For example, when I cooked this bird, I added salt and pepper at 1:25 p.m., and put it in the oven at 5:35 p.m.
Trust the Truss
Doing a full truss (tying up the bird) isn’t exactly “simple” if you have never done it before. What is simple is tying the legs together, which will still promote even cooking and browning. So let’s just do that and call it a truss. Sound good to you?
Convection, if You Have It
You know that convection setting on your oven? This is the time to use it if you have it. What convection does is circulate the air so the food heats more evenly and quickly, and also removes moisture. This results in beautifully golden brown crispy skin. Convection typically uses less energy, too.
If you don’t have convection, that’s totally fine! It will still come out wonderfully.
Into the Oven, the Right Way
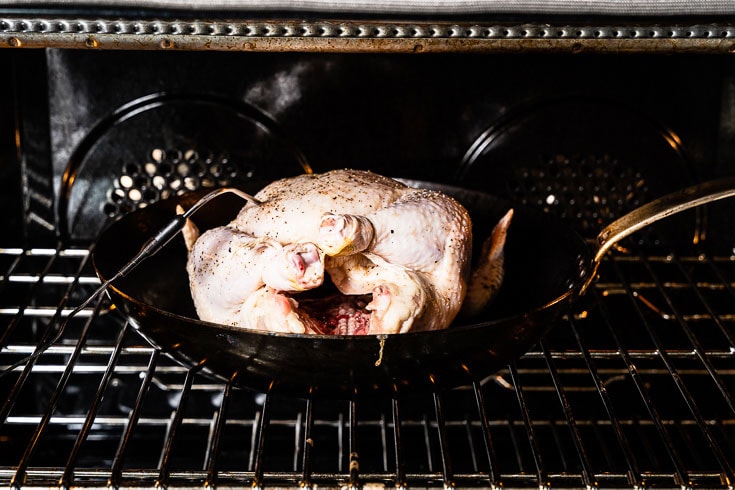
Something we don’t always think about is the direction in which we place our foods on the sheet pan and in the actual oven. This can be important, as it can influence how evenly the chicken cooks, since ovens don’t always have even heat. You don’t want one side of the chicken being cooked more than the other. Convection lessens the need to be careful about oven placement, but it’s still a good habit to get into.
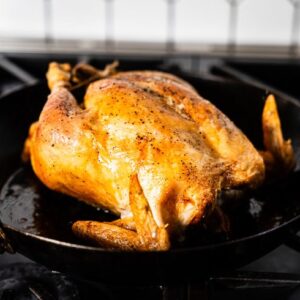
Place the whole chicken in a large skillet into the middle of the oven, with the cavity/legs facing out (see photo above). Rotate it halfway through the cook (after about 30 minutes). This will help promote even cooking and crispier skin.
Basting Optional
There can be some pretty wonderful juices that end up in the pan. You can use a basting spoon and drizzle those juices onto the chicken as it cooks. However, this can keep the skin from getting as crispy as it would if you skip it. Plus, it’s an extra step. And we are talking the simplest roast chicken here. I don’t usually baste the bird when I’m going for easy and simple.
How Long to Roast a Chicken? It’s All About the Temp!
It will take approximately 1 to 1 1/2 hours, depending on the size of your chicken and other factors. Your oven temp will be 400° F or 425° F, depending on if you have convection or not.
But the key temperature is the temp of the chicken when it’s done. Cook to target temperature, and not to a time. It’s not done until the thermometer says so, and that’s really the only way to tell for sure. Use an instant-read probe thermometer to make things even simpler, no stress and guaranteed perfect.
Roasting the chicken at the higher oven temperature will help render (melt) the fat, crisping the skin, and it will also cause carryover cooking (it will continue to cook after it’s out of the oven).
| Pull Temp | Target Temp | |
| Breast | 155° F | 165° F |
| Thigh | 165° F | 175° F |
Pull Temp = the temperature at which you will pull the chicken from the oven.
Target Temp = the finished “cooked” temperature after carryover cooking.
Comes With Its Own Sauce Base
When your chicken is done roasting, those pan juices are ready to make a quick pan sauce to upgrade the meal. If you’re into it, that is. You can totally skip the pan sauce, but it’s a little extra deliciousness.
After the chicken is out of the skillet, spoon out most of the fat. Add some chopped shallot, fresh thyme, white wine and cook down to a pan sauce to spoon over the chicken. You could use white or red wine to switch things up.
Uncovered Rest Is Best
The heat in the chicken means it is still cooking when you pull it from the oven, so we allow the chicken to “rest” for 10-15 minutes after pulling. When it comes to resting, leave the covers for your bed and leave your beautiful golden chicken uncovered to let the steam escape and keep that crispy skin crispy. Don’t worry about it cooling down too much during the rest. It will still be hot.
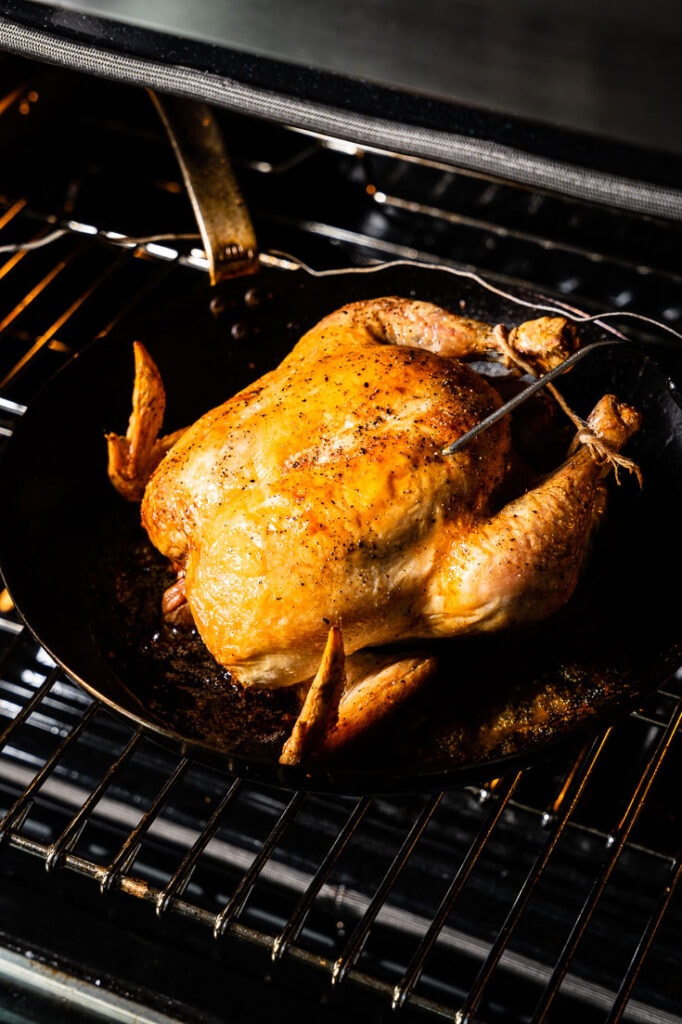
How to Roast a Chicken
Now that we’re a little more educated on the whole chicken roasting thing, let’s go step by step:
- Season with salt and pepper some hours before.
- Remove the chicken from the fridge an hour before cooking.
- Preheat the oven to 425° F (400° for convection).
- Tie the legs together.
- Put the chicken in the skillet and place in oven, legs out.
- Rotate the pan so the legs are facing in after 30 minutes.
- Pull when breast meat is 155° F and legs 165° F (this will probably be at least an hour).
- Rest uncovered for 10-15 minutes. Carve and serve!
Reheating Roast Chicken
Since the chicken is fully cooked, later servings can be at any temp you like; even cold chicken tastes great. Just be careful not to overcook. And the microwave isn’t really the best tool. I prefer to “flash” it, meaning cooking in the oven (or toaster oven) at high heat (450°-475°) for 2 to 10 minutes. Flashing works best when the bird is taken apart, so the heat gets in quick.
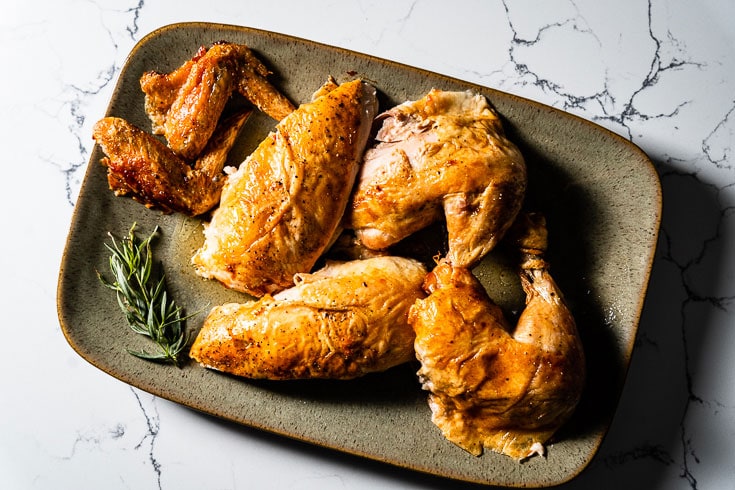
Leftover Roast Chicken: 6 Dish Ideas to Make with 1 Roast Chicken
A little inspiration to get you through the week: chicken tacos, pulled chicken sandwiches, chicken alfredo pasta, chicken pesto, chicken Caesar salad, chicken tetrazzini. One of the beautiful things about roast chicken is its versatility as a leftover.
Stock Up
After you’ve devoured the chicken, be sure to put those bones to good use. Make chicken stock, which is invaluable to have on hand. If you aren’t up for making stock or want to wait for more bones to increase the quantity, freeze the bones to make stock later.
Serve With…
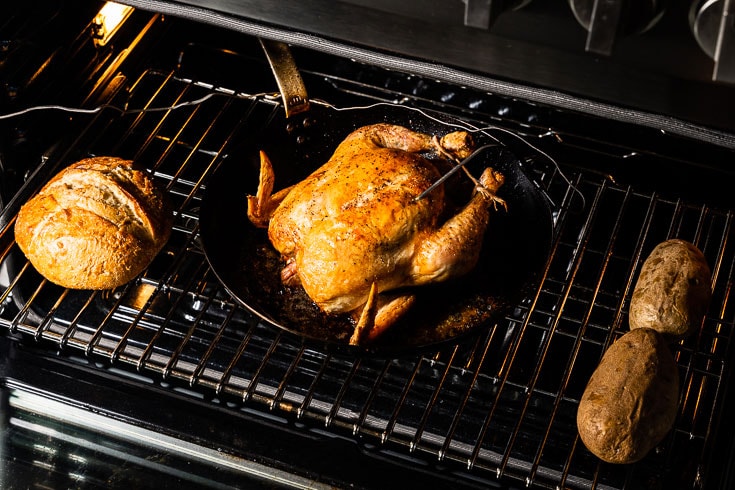
- Baked potatoes: Throw some russets in the oven while their chicken roasts. Remove when the potatoes reach an internal temperature of 205° F for perfect fluffy baked potatoes.
- Mashed Potatoes
- Veggies under the chicken (high heat can cook them quickly).
- Green Beans (Haricots Verts if you’re fancy).
- Roasted Brussels Sprouts (use same oven temp).
- Simple green salad with a homemade vinaigrette or some sauteed zucchini with garlic.
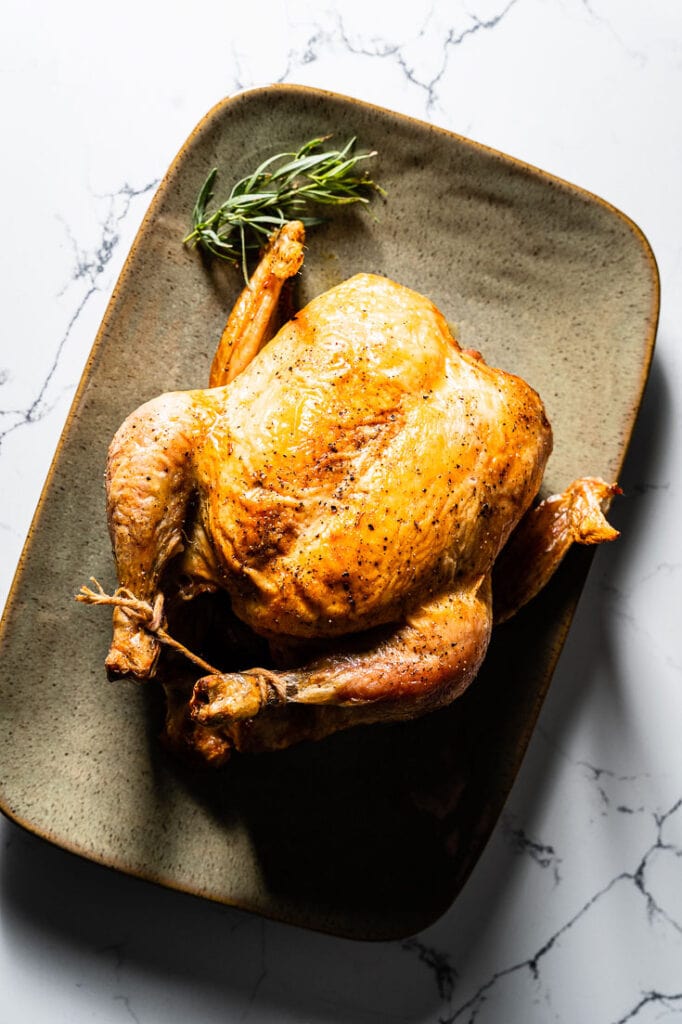
More Ways to Cook a Whole Chicken
Simple Roast Chicken
Equipment
- Skillet
Ingredients
- 1 (3 to 4 lb) whole chicken
- Olive oil
- Diamond kosher salt
- Freshly ground pepper
Instructions
24 Hours Ahead (if you can, a few hours if not)
- Pat the chicken dry inside and out with a paper towel and trim excess fat around the opening.
- Drizzle a little olive oil and heavily season with Diamond kosher salt and freshly ground pepper over the entire chicken, and a little on the inside of the cavity. If you are feeling adventurous, you can even separate the skin and season underneath.
- Refrigerate for 24 hours (preferably uncovered).
Roast It
- Remove the chicken 1 hour before roasting to temper (bring to room temperature).
- Preheat oven to 400° F on convection if you have it (425° F for conventional) with an oven-proof skillet in the oven (cast iron or carbon steel).
- Place the chicken on the skillet in the oven with the cavity facing the front of the oven.
- After about 30 minutes, rotate the skillet 180° so the legs/cavity face the back of the oven to help with even cooking and browning.
- Remove the chicken from the oven when the center of breasts register 155° F and thighs 165° F (10° F below the target finish temperatures) as there will be carryover cooking. /
- Transfer the chicken to a cutting board to rest uncovered for 10 to 15 minutes before carving and serving.
- Optional: After removing the chicken from the skillet, spoon out most of the fat. Add some chopped shallot, fresh thyme, white or red wine and cook down to a pan sauce to spoon over the chicken.
Notes
- If you can’t season the chicken 24 hours ahead of time (which I highly recommend), do it as far ahead of time as possible. Even a few hours will help.
- Refrigerating uncovered before cooking will help promote crispy skin.
- Always verify the chicken has reached a minimum of 165° F for food safety.
- Do not rest the chicken in the hot skillet, as it can overcook.

