The reveal of our recent kitchen remodel with lots of before and after photos and a list of where to buy everything we used.
The kitchen is the heart of the house and a new kitchen brings joy more than any other home improvement. You use it for coffee first thing in the morning, breakfast, lunch and dinner. And probably countless times in between. A new kitchen should bring joy in all aspects. Everything needs to be totally thought out and in place for a reason. This is something that takes a lot of time and effort. If you don’t put it in, you won’t get the results you had been dreaming of.
We all dream of creating our dream kitchen. Ours happened to be much more unplanned and much sooner than we ever expected as it was initiated from a flood. We only had about a month to figure it all out, and that sure was stressful.
Jump Down to
Before
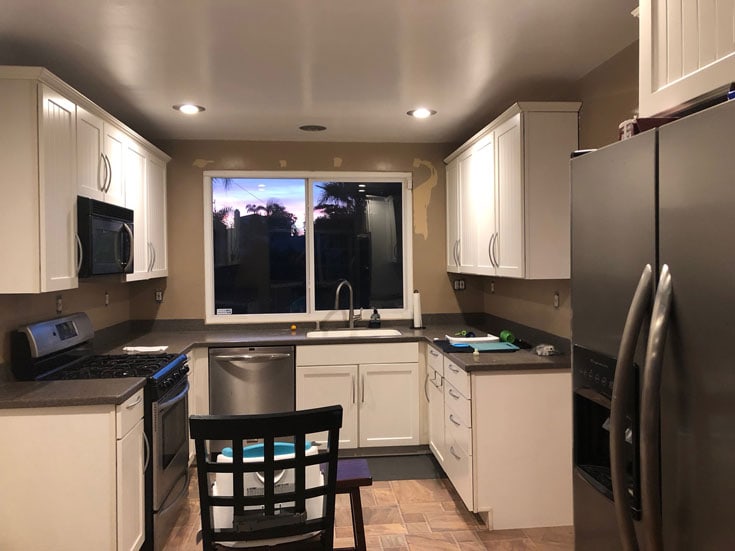
Our “before” kitchen really wasn’t anything to complain about (too much), but it definitely didn’t bring joy. With solid surface countertops, white cabinets and a laminate floor; it was very usable and functional, but didn’t bring a whole lot of joy. It definitely wasn’t a kitchen I wanted to use as a photo backdrop for recipes on the blog.
After
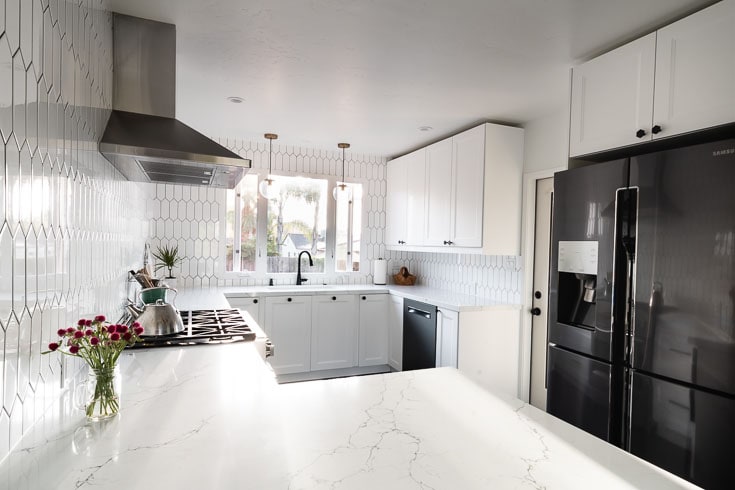
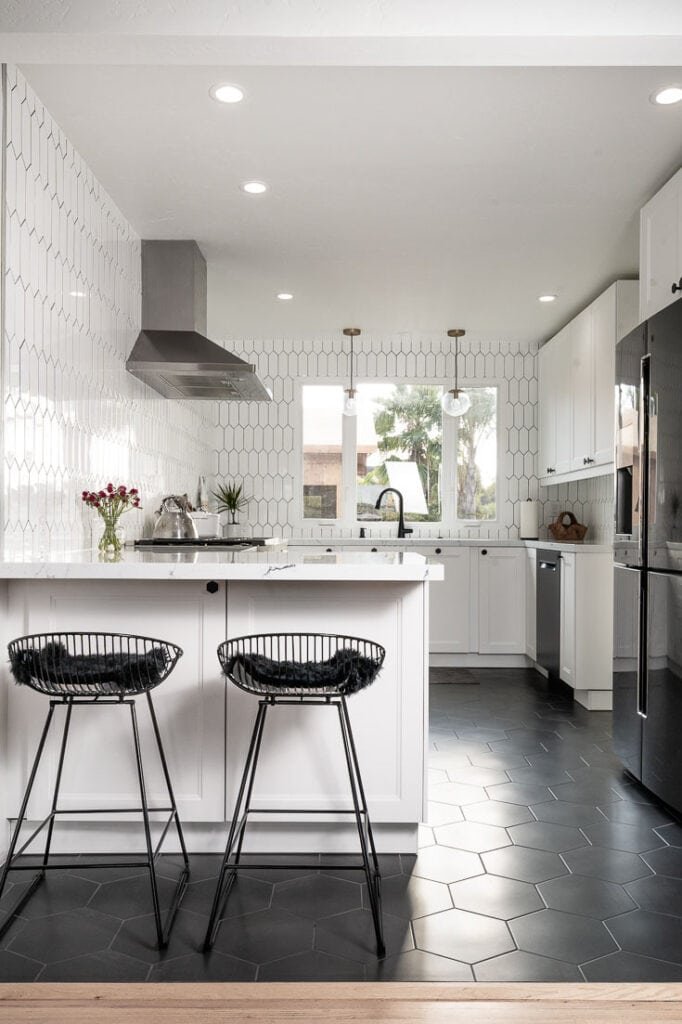
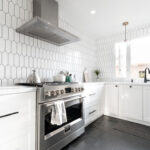
Clean, light and black & white.
The goal of the new kitchen
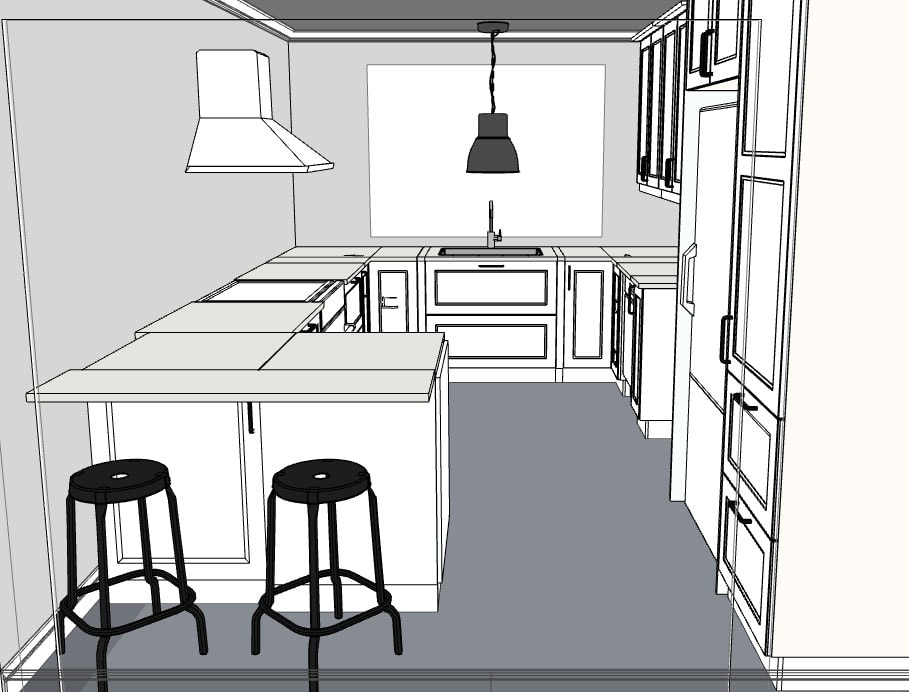
The kitchen is the heart of the house, and especially when you are obsessed with cooking like I am. Our goal was function over form, sort of. Being a food photographer, having it look pleasing to the eye was also a requirement. Adding a peninsula would allow the family and guests to connect around the action.
Our Seven kitchen must-haves:
- Add a peninsula.
- Removing an unnecessary door from kitchen to the kid’s bedroom.
- Open up the wall from the kitchen to living room.
- No upper cabinets on one side to create open airy feeling.
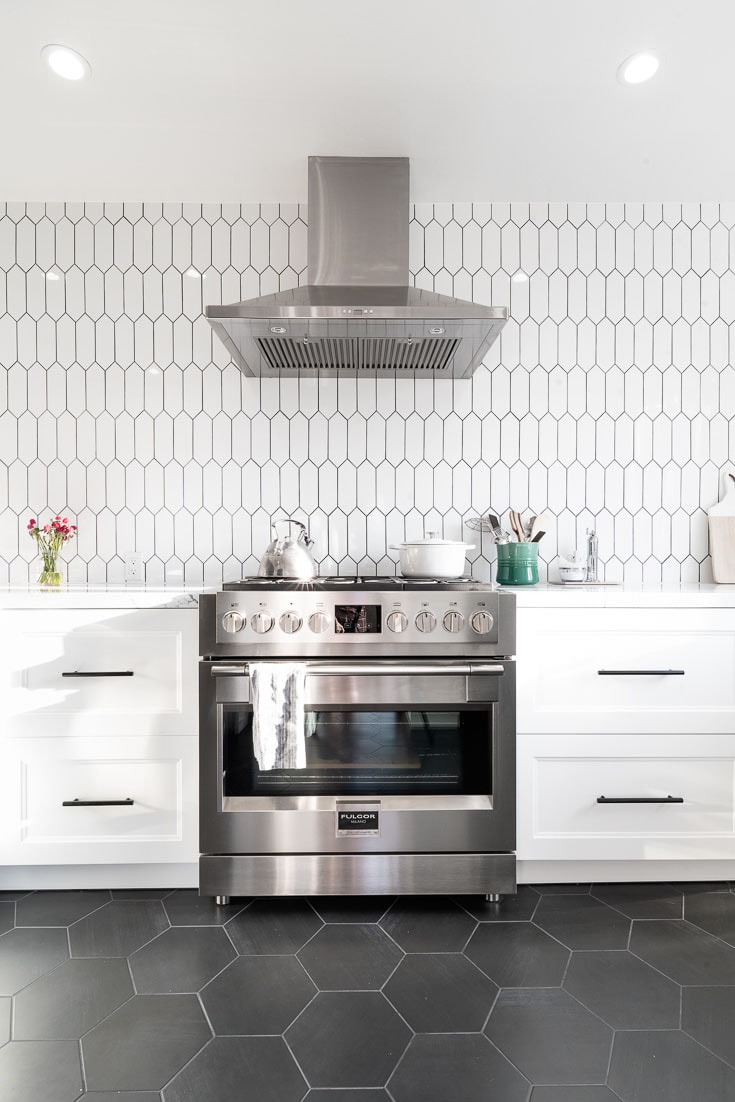
- Backsplash, backsplash and more backsplash from the countertop to the ceiling.
- Plenty of counter space with no visible clutter.
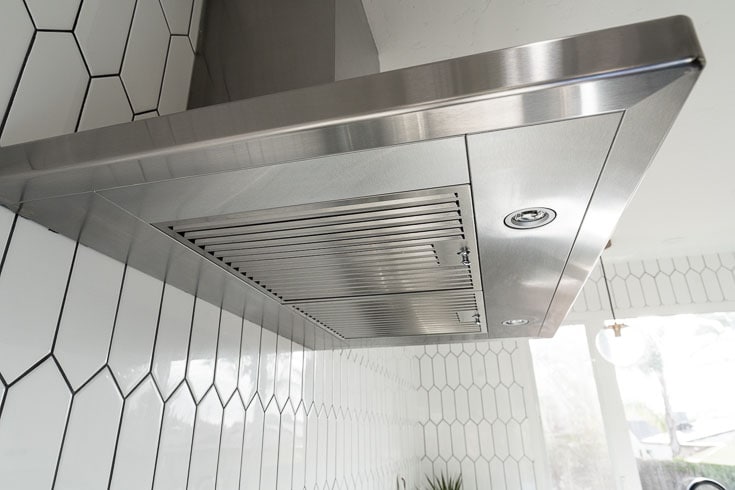
- A range hood that vents to the outside.
The layout
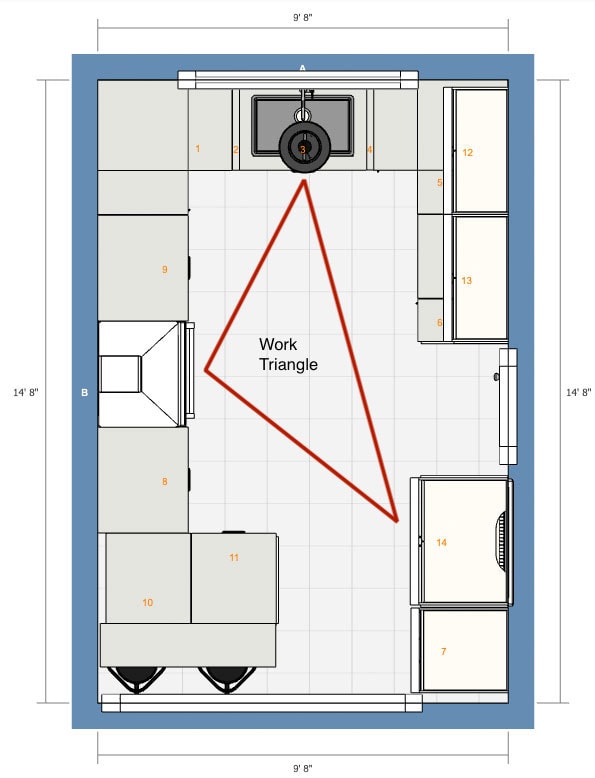
With the quick timing and budget of our project, we decided that adding extra square footage or drastically changing the layout wouldn’t be an option for this kitchen remodel. We had to work within the existing space, including the door to the backyard and the window placement. To give an idea of size of our kitchen size; the space is 9’8″x 14’8″ (about 142 Sq Ft).
With the addition of a peninsula that was very high on the wish list, the kitchen layout would change from U-Shaped to a G-Shape. This adds lots of extra counter space and makes for a much more welcoming kitchen
The Work Triangle
The best way to start thinking about designing a kitchen layout is by starting with the work triangle. The work triangle is the connection of movement between the primary workspaces; the refrigerator, the sink and the range. It creates a flow that nothing should stand in the way of, or efficiency in the kitchen will be lacking.
The look and feel
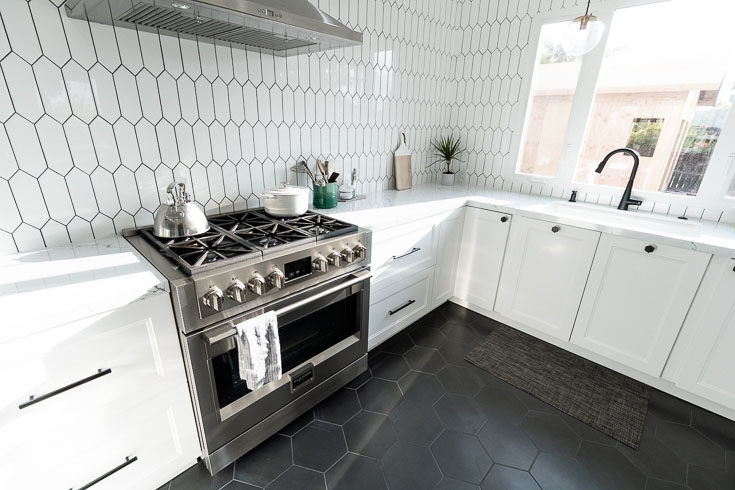
Light, bright, airy, minimal, clean, black & white, minimal. These are all words that describe the look we were going for. Now if all of those things suddenly would just appear in real life!. It turns out that it is a lot of work to make it come to reality.
With so many design styles to choose from, it feels really overwhelming. Do you go modern, contemporary, coastal, traditional, country farmhouse or something in between? We were originally thinking modern farmhouse, but it eventually transformed into our own look. We turned to Pinterest, Instagram, magazines, blogs, brands we love and of course, family and friends who most importantly helped us survive this whole process!!
Clean minimal. No clutter on the counter
The Photos
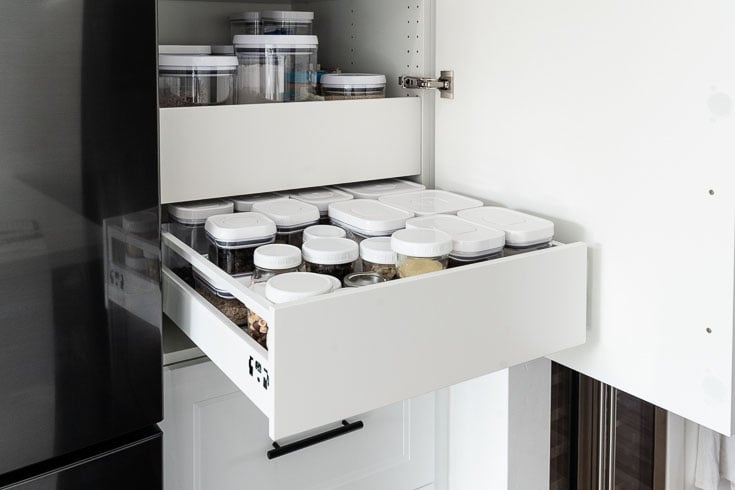
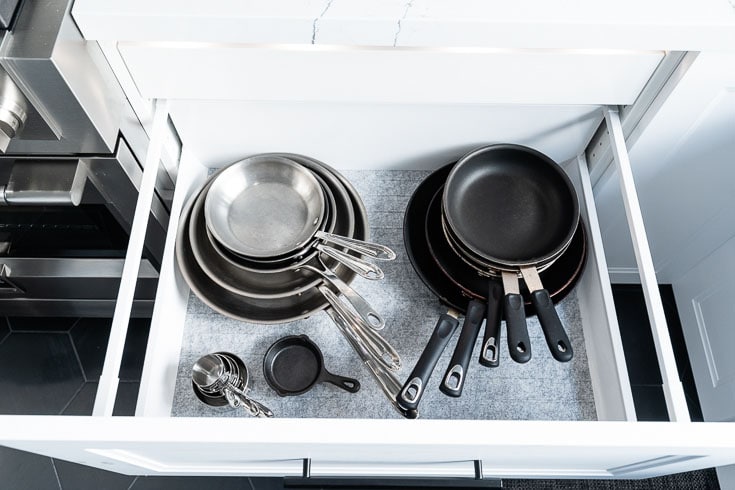
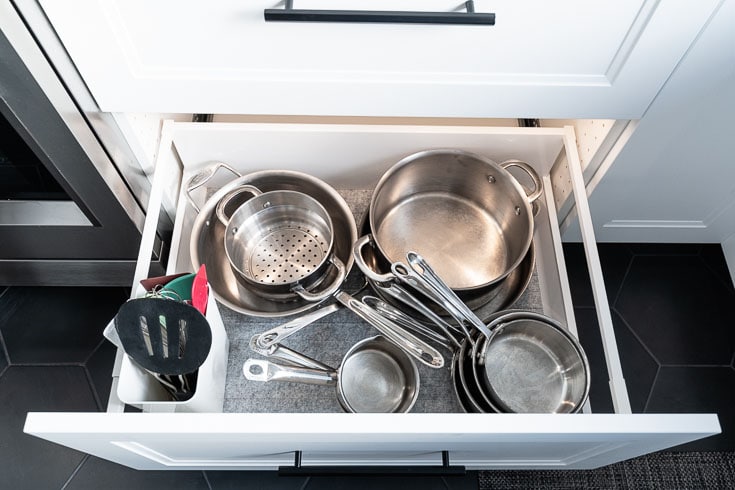
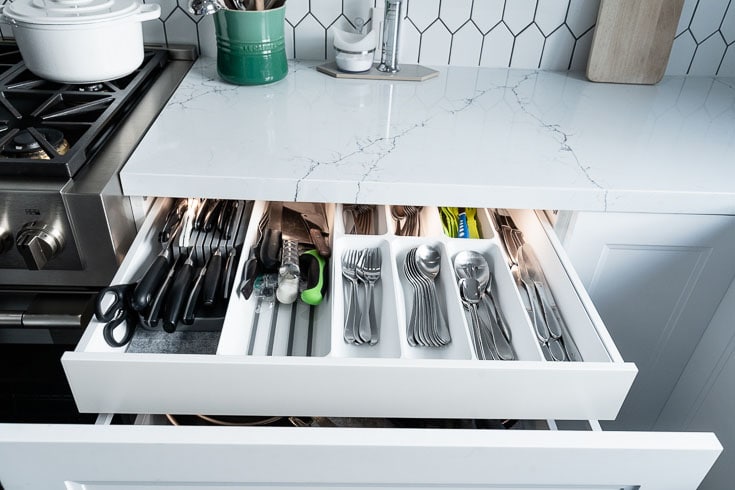
Photo gallery from the kitchen remodel.

The big list of everything
This post contains affiliate links where I might receive a commission if you make a purchase, at no additional cost to you to help support this site.
Cabinets
Cabinets – IKEA Sektion system with Axstad Matte White Fronts
Cabinet lighting – IKEA integrated in-drawer and under cabinet lights
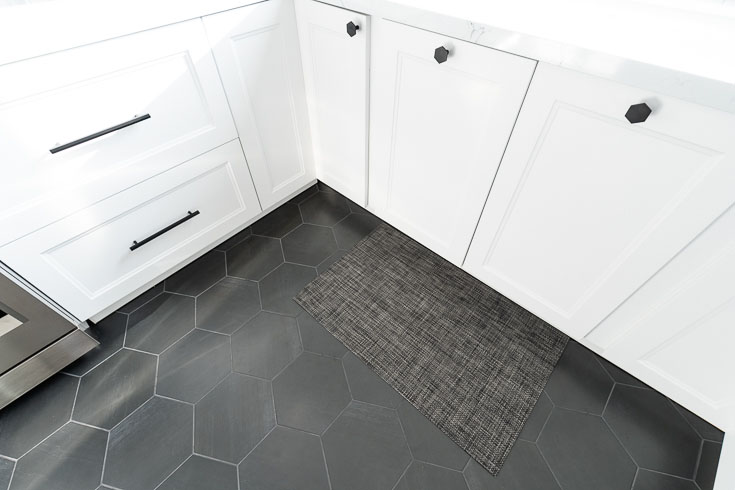
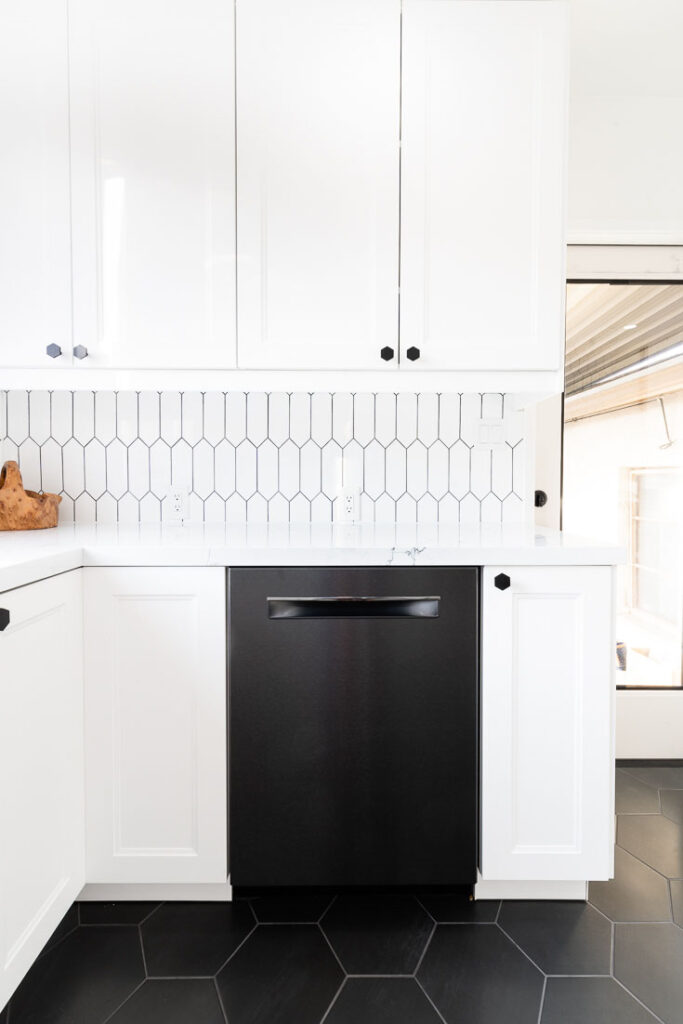
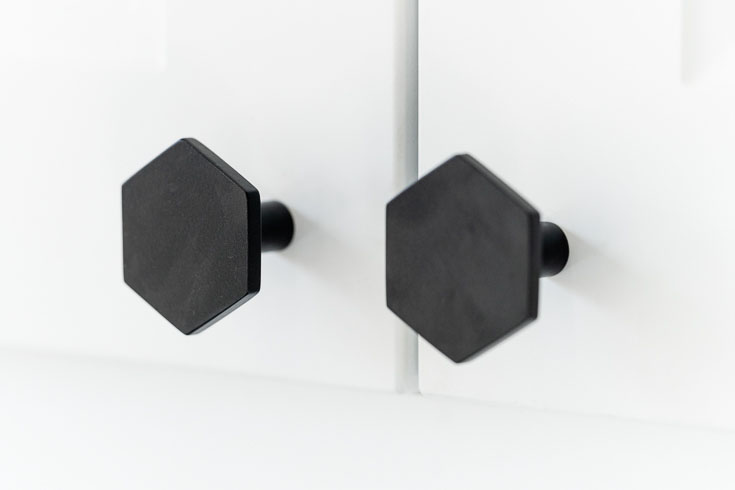
Knobs – CB2 Hex Matte Black Knob
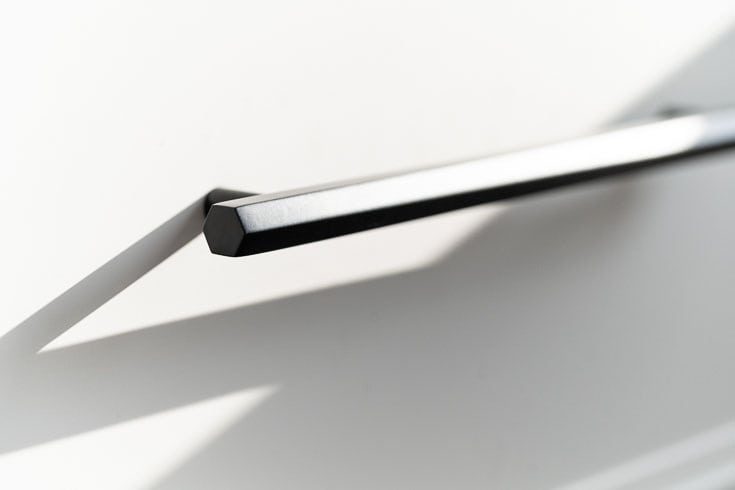
Pulls – CB2 Hex Matte Black Drawer Pulls
Fixtures
Quartz Countertop – PentalQuartz Avenza Quartz (we needed 2 slabs)
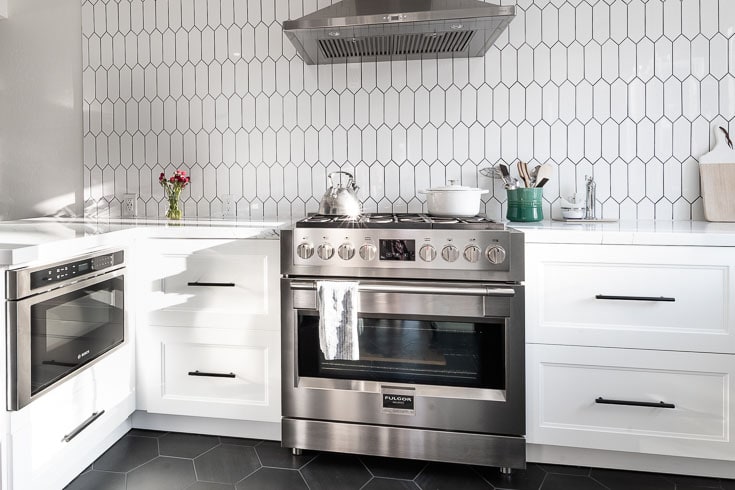
Floor tile – Paige Antracite 10 inch Hexagon Matte
Backsplash tile – Bianco Picket 3x 9″ Glazed Ceramic Wall Tile
Paint – Sherwin-Williams Duration Home Pure White Satin
Tile Grout – Custom Building Products #370 Dove Gray
Lighting
Pendant – Wysocki 1-Light Single Globe Pendant
Recessed Lights – HALO Recessed Smart LED Downlights, 4″
Smart Dimmers – Halo Home dimmer for smart LED lights
Sink
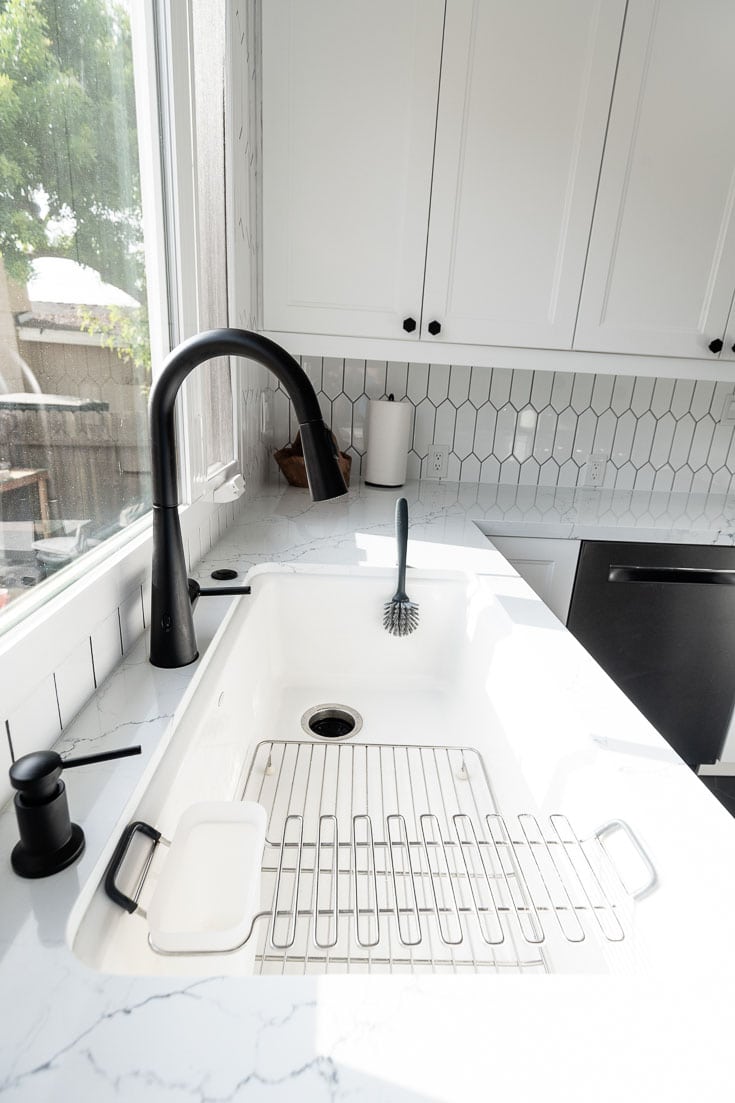
Large sink with no divider that has the drain on one side rather than in the middle. In a material that doesn’t easily stain or chip. This narrowed it down to one option, and we love it.
Sink – Kohler Riverby 36″ undermount in White
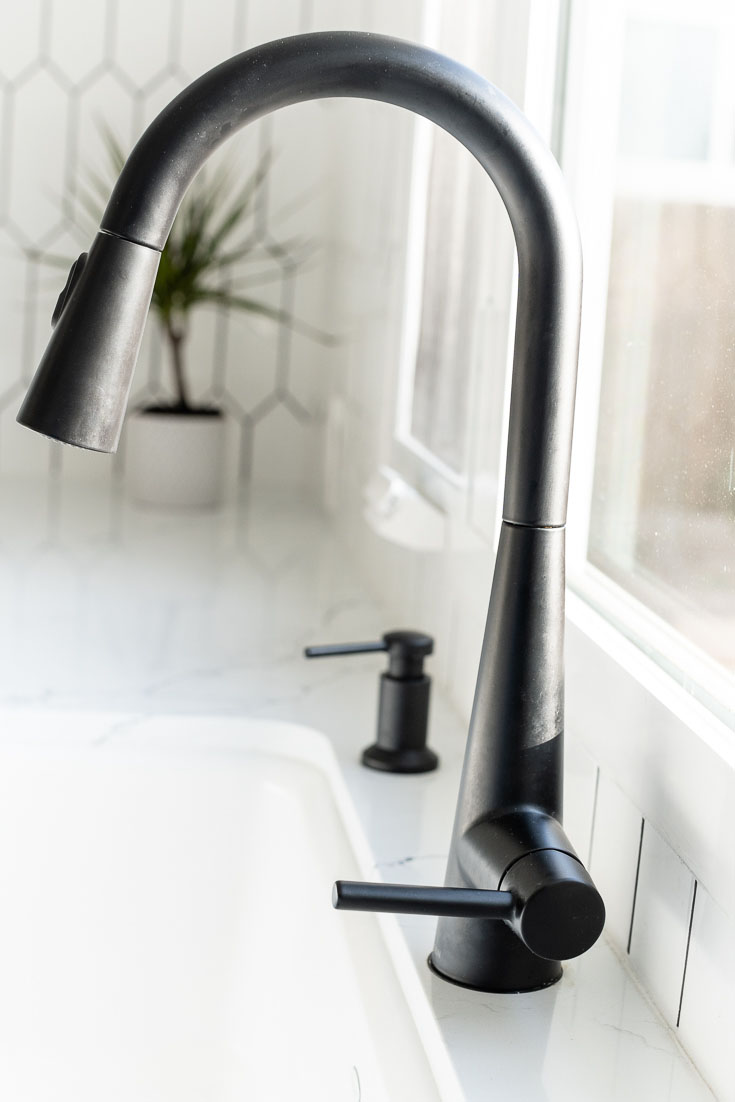
Faucet One-Handle High Arc MotionSense Wave Pulldown Kitchen Faucet
Soap Dispenser – Moen Soap/Lotion Dispenser in Matte Black
Garbage Disposal – Moen EX Series 3/4 HP Continuous Feed Space Saving Garbage Disposal
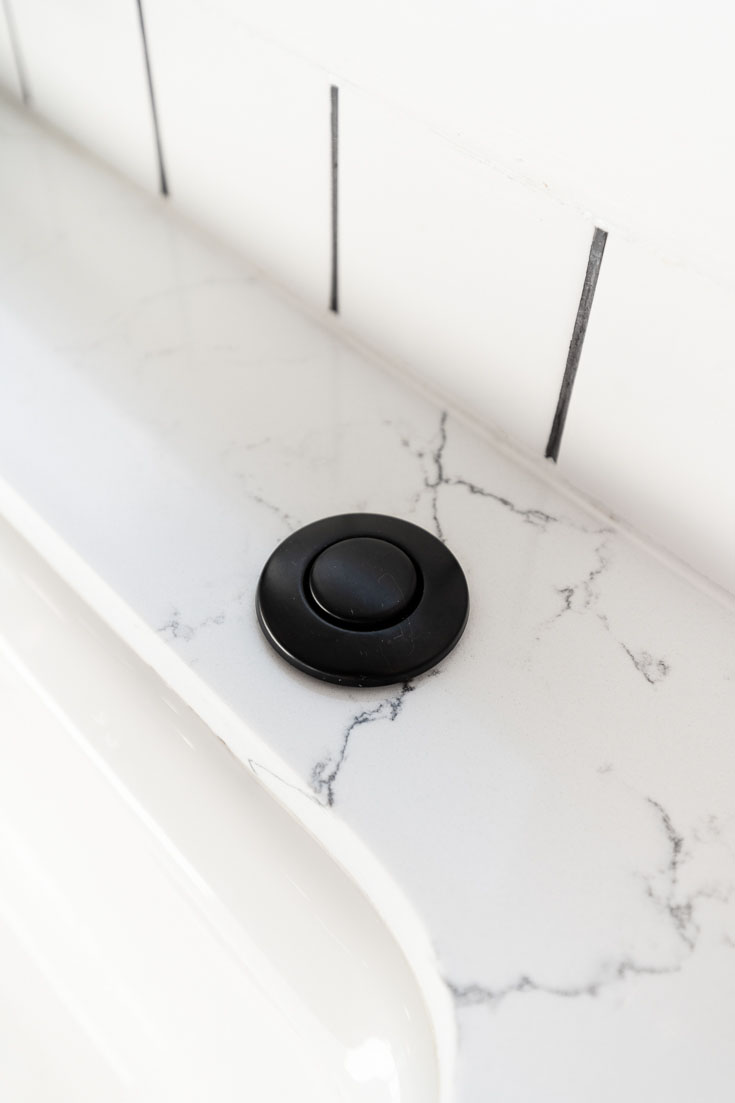
Garbage Disposal Air Switch – InSinkErator SinkTop Satin Dual Outlet Switch
Air Switch Button in Black – InSinkErator STC-MTBLK SinkTop Switch Push Button, Matte Black
Window & Door
Window – Milgard Trinsic Series 3-panel casement and picture window
Door – T.M.Cobb Smooth-Star Fiberglass Door with Glass interior
Appliances
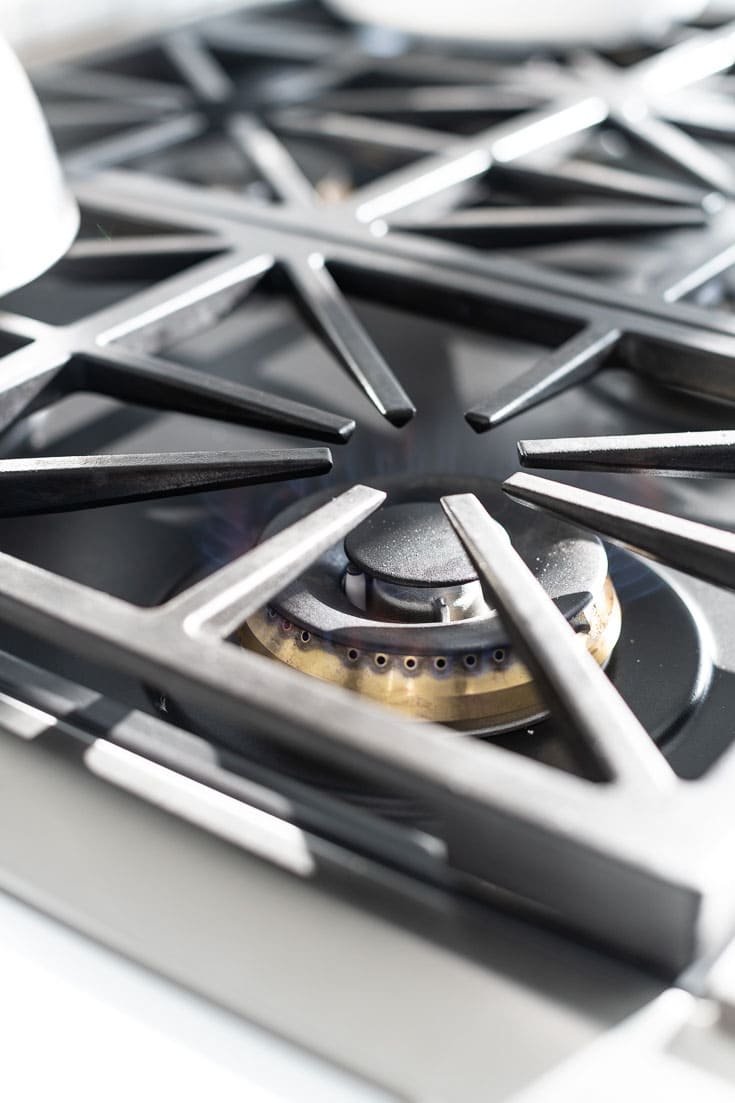
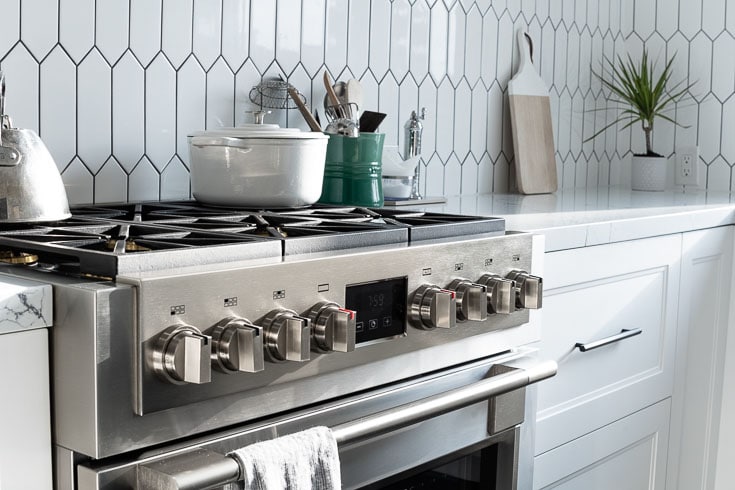
Range – Fulgor Milano Sofia 36″ Gas Range (check out my review of the Fulgor Sofia Range)
Hood – Zephyr Venezia Wall 36″
Dishwasher – Bosch 800 Series Dishwasher Black stainless
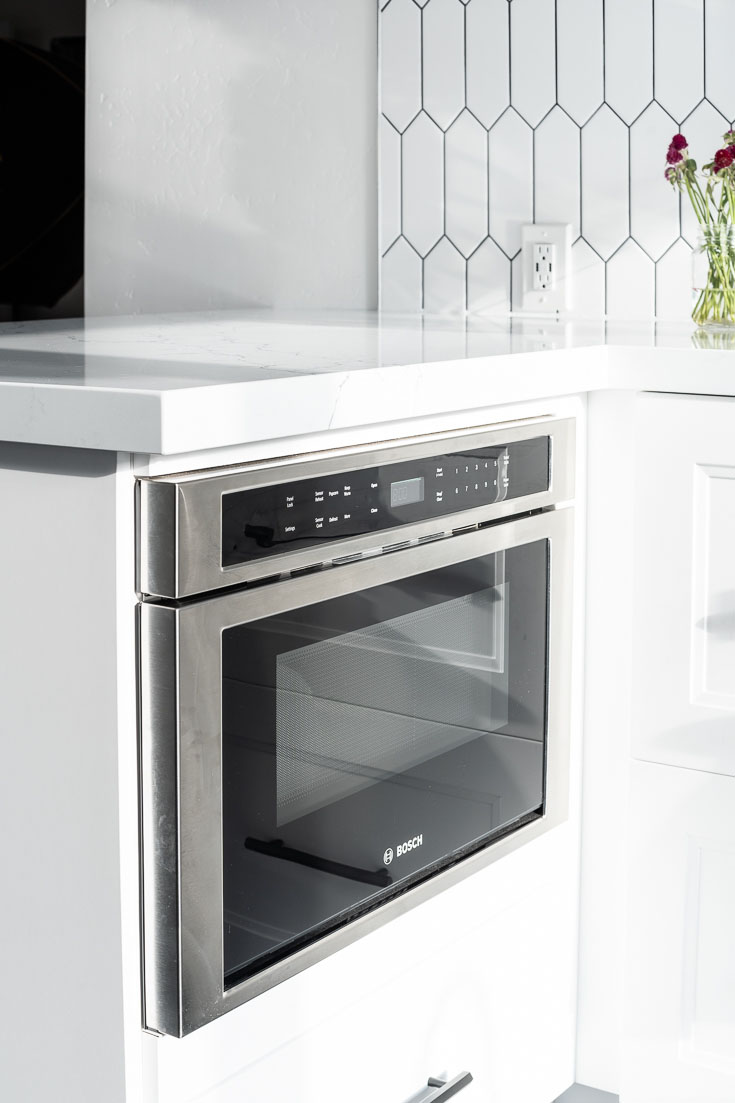
Microwave – Bosch 800 Series Drawer Microwave24” Stainless steel
Refrigerator – Samsung 23 cu. ft. Counter-Depth 4-Door Flex Refrigerator
Miscellaneous
Counter Stools
Counter stool sheepskin cushions
Rug in front of sink – Chilewich Basketweave Area Rug 23×36 in Carbon
Power outlet with built-in USB Charging
Where we bought Appliances: Aztec Appliance in San Diego

Beautifully done!! We are going for a similar look for our remodel. What is the name of the tiles and color of grout you used? We know we don’t want white grout but it’s hard to choose between a silver, charcoal or a black color.
Thanks so much, Marisela!
The backsplash tile is ~9×3″ white picket tile from home depot. They no longer carry it. The grout is Custom Building Products #370 Dove Gray. Let me know if you have any other questions. Cheers!
Hi! Lovely kitchen remodel! I came across this blog post because I am also doing an ikea kitchen and I am searching for the best way to support the Kohler Riverby sink. Could you please share how you did yours? Thanks so much!
Hi Hannah! Thanks very much!
I’m not sure of the exact details of how the contractor did it. They fastened it to the plywood subtop (decking) and used the IKEA Reinforced ventilated top rail and potentially another fastener. They added some extra wood for the structural integrity because of the weight of the cast iron sink.
Here is a photo of how it looks under the cabinet:
I hope this helps. Let me know if you have any other questions.
Thanks for the quick response! The additional info was helpful. Unfortunately, it won’t work for me (I’m not doing any plywood under my countertops), but it did give me some ideas! Coincidentally, in addition to the same sink, we are using the same fridge and also the same dishwasher but with panel fronts.
Very cool! We like the flexibility of the fridge. The ice maker is not so great if you use a lot of ice, which we don’t so it’s not a huge deal. Would love to see a photo of your finished kitchen.
Hi! Love your remodel!! Curious if the stainless steel of the gas range and the Bosch appliances you have used match? We are considering the same gas range and the Bosch 800 series fridge-worried the stainless steel won’t match.
Thanks so much, Tracey. I just looked at them and the match is pretty good, but it is slightly different if you really look. However, I have never noticed it being different (and I look at those things) and the stove and microwave are a few feet apart, though at a different angle from each other. The only stainless Bosch appliance we have is the microwave, which is actually made by Sharp. Our dishwasher is a black stainless, so that obviously doesn’t match, which we intended. Hope this helps and let me know if you have any other questions.
Hello! I am considering the axstad white doors for my remodel and I’m wondering how they have held up thus far!! I’ve got to order in the next few weeks and I can’t decide between the foil axstad and the painted bodbyn! I just love how bright and white the axstad doors are!
They have held up wonderfully. I highly recommend the foil over painted doors, especially in the kitchen. We have friends who have painted cabinets and they are already having to re-paint them. We just wipe ours down and they look new.
Hi! I love your floors. We are looking at doing something similar for our kitchen remodel. Are they terribly hard to keep clean? We have 3 pets and I am worried I will regret them with all the fur. We do have a roomba that I run daily. Thanks!
Thanks so much, Lauren! We were also really worried about them showing dirt, but it’s actually not as bad as expected. These particular tiles have some color variation in them which I think helps. We have a 4-year old and a dog. We vacuum every few days but don’t mop very often and they usually look pretty darn clean. 🙂
Hello! Thanks for your post ! Just wondering how you are finding Ikea’s Axstad matte white door covers. We’ re planning on using the same for our remodel in the spring but after ordering a sample , I’m realizing that it is *very* white and very matte. Are you finding them difficult to clean/remove grease stains etc . Love the bright matte white though! Any help suggestions would be awesome, thank you !
Hi Loren! We love the IKEA Axstad white doors. They clean easily with a microfiber cloth (though we don’t do this nearly often enough. haha). I really like the bright white compared to more cream-colored white cabinets as it matches the tiles and the Sherman Williams Pure White paint almost perfectly. Happy to answer any other questions you might have. Cheers!
Hi- I am a curious reader of your blog and I came across your remodel. I was a bit curious to know about your handle placement and how they are holding up?
I’m in the midst of my Ikea remodel and opting to place the drawers handles dead center instead of on the frame as IKEA recommends. I haven’t found much information online about this and it seems possible but wanted to get your thoughts having gone through this.
Hi Nicola,
Thanks for checking it out.
The handle placements are holding up perfectly. It’s been a little over a year now and no issues at all. They definitely take a little more time to place than if they were in the frame, but totally worth it depending on the look you are going for.
I haven’t posted about it yet, but we recently completed my studio kitchen in a separate structure. We used the Ikea kungsbacka fronts. They are flat slabs and a more modern look, so I placed the pulls towards the top of the drawers. This was much easier to install because you can use their little template which helps, but it isn’t perfect.
Let me know if you have any other questions.
Cheers,
Justin
Thank you Justin for your reply! Also I like how you went with higher end appliances. I’ll be doing the same for mine as well.
Wowzers! Beautiful. You should post this on Apartment Therapy.
Thank you very much for your kind words. I never thought of submitting to Apartment Therapy, but now I totally will! Cheers!
Gorgeous, I’m pretty jealous!
Thanks so much, Steven. I hope you get your dream kitchen soon too. 🙂
Wow. Incredible remodel! Found your site just this morning looking for a brined pork tenderloin recipe. Beautiful website.