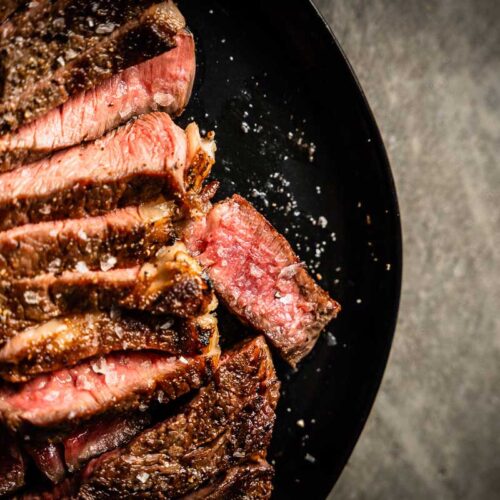

There’s normal steak, and then there’s perfectly cooked ribeye steak flame-kissed on the grill. There’s nothing quite like it. The magnificent flavor, the texture and the satisfaction of perfectly cooked beef. The ultimate steak (IMO) is the ribeye. Some call it the most flavorful part of the cow.
The ribeye comes from a cross-section of the long muscle along the backbone of the cow (the longissimus dorsi). It’s a muscle that doesn’t do a lot of work, so it’s tender by nature, and it tends to develop fabulous marbling. It is available boneless, with the bone-in and even with the long rib bone attached, which is a tomahawk steak or cowboy steak. They are all the same, just slightly different butcher cuts.
And for my money, it is the most tender, the most flavorful and the most satisfying piece of meat to grill. Every bite spoils you more than the next. And the ultimate way to cook it is over smoking hot coals of the grill. So skip the overpriced steakhouse and make the ultimate steak at home.
What You’ll Need
- A high-quality ribeye steak
- Diamond kosher salt
- A grill (preferably charcoal)
- Grill brush – keep those grill grates clean!
- Sheet pans – great for seasoning on and transporting to and from the grill
- Neutral oil such as canola – for cleaning the grill grates and adding a little on the steak to promote even browning
- A few paper towels – to wipe the grill grates
- Instant-read probe thermometer – so you know exactly when to pull it off the grill
- Maldon finishing sea salt flakes – a little sprinkle on the sliced steak for extra seasoning and texture.
Quality Steaks Are Expensive. Don’t Skimp on Quality.
These days, you can spend just about any amount on a ribeye steak. From around $10/pound at a discount store to well over $100/pound for top-quality wagyu.
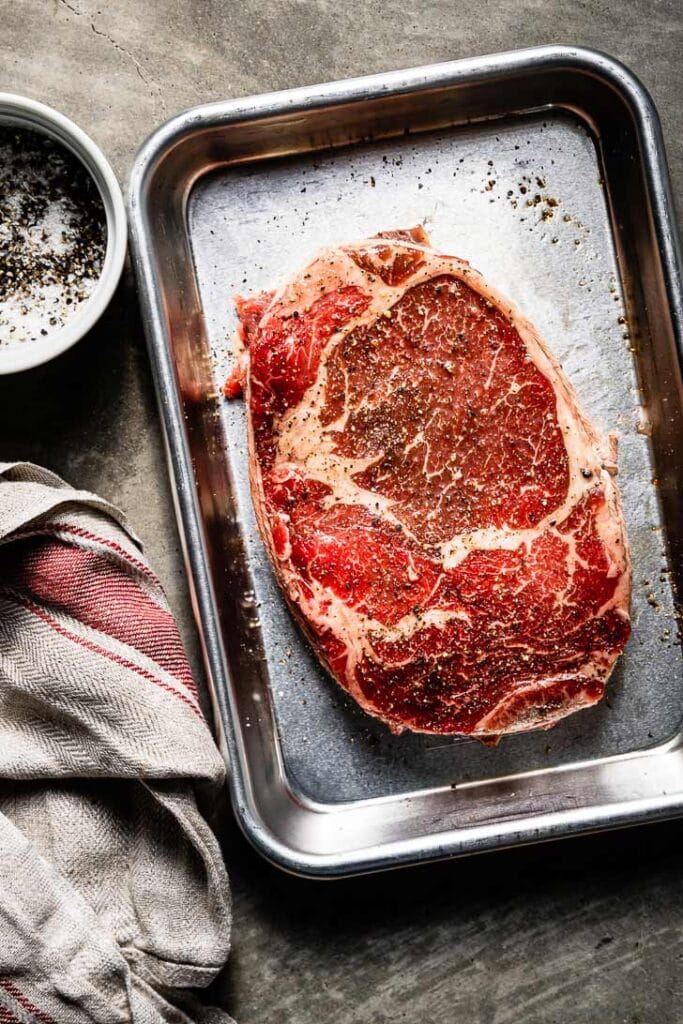
This beautiful prime ribeye is from Niman Ranch. I always advocate for higher-quality meat like this. It’s Angus beef bred, born, raised and processed in the USA, so you’re supporting American ranchers. High-quality meat tastes better, is treated better and is better for the ranchers and the environment.
Thickness: Go for a 1″ minimum thickness for your steak. 1 1/2″ is better. The thicker steak will allow you to get a flavorful sear on the outside without overcooking that perfect medium-rare on the inside.
One steak can serve two people. Not everyone needs their own, which saves money so you can still buy quality. Buy a bigger steak and feed the whole table with just one.
The Advantages of Grilling Steak
There’s nothing like live-fire cooking to add flavor. In fact, smoke is really the only way to add flavor to food even though it isn’t an actual ingredient. While a medium-rare steak doesn’t take on a ton of smoke flavor, you will definitely taste it. Here are tasty reasons to fire up the grill:
- Easy clean-up
- High-heat sear
- The flavor from the fire and smoke
- Two zones for control and even cooking
- Gets you outside while cooking and keeps your kitchen cool
Season Early and Intentionally
If you season properly, you won’t taste the salt. Salt is a flavor enhancer; it brings out the flavor of whatever it touches. When you salt the beef correctly, you taste more beef, not more salt.
Bring the steak home and salt it 24 to 48 hours before you cook it. There are a lot of opinions on this, but I prefer to salt early. This steak is inbound for dinner tomorrow, so season the night before, at the latest. Learn more about when to salt your meat.
Not all salts are the same: Each type of salt has different amounts of sodium per volume because of the grain size. If you are using a different type of salt than the recipe specifies, then your results will be off. Something might be over- or under-seasoned. See conversions below.
2 teaspoons Diamond Crystal kosher salt = 1 1/2 teaspoons Morton kosher salt = 1 teaspoon table salt
See the salt conversion chart.
Whichever type of salt you use, get familiar with it and stick with it. My preference is Diamond brand kosher, so that’s what I use in my recipes.
Amount of salt per pound of meat: 1 teaspoon of Diamond kosher salt per pound of meat.
Sprinkle it on with your fingers from about 6 inches above the steak for even distribution. It might seem like a lot of salt, but it’s all going to be absorbed into that big steak and not stay on the surface.
Seasoning meat with salt draws out moisture. Moisture is the enemy of the hot sear on the grill. So seasoning the steak only a few minutes before cooking will leave moisture on the steak and make it hard to get a good sear. Seasoning early (even if it’s just 20 minutes early), and the moisture will start to be absorbed into the meat again. And it’s not the same moisture either. Now it’s flavor-enhancing rich moisture that seasons the inside of the steak. So salt early or immediately before tossing it on the grill, never just 5 to 15 minutes before.
Don’t “marinate” a high-quality steak like this. You just want to taste the steak, salt and the grill.
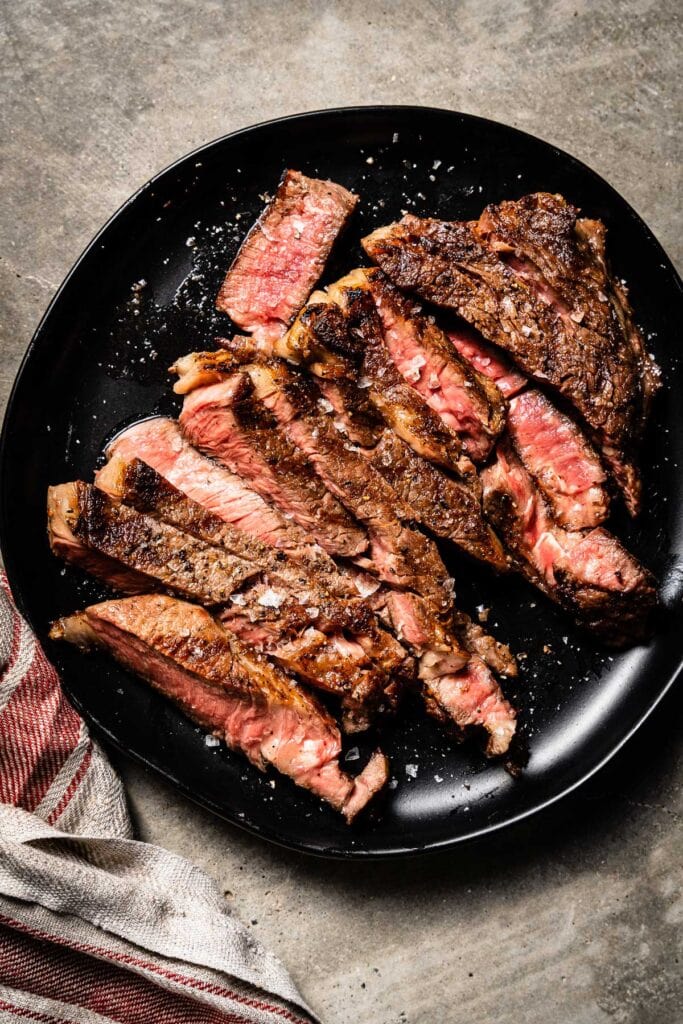
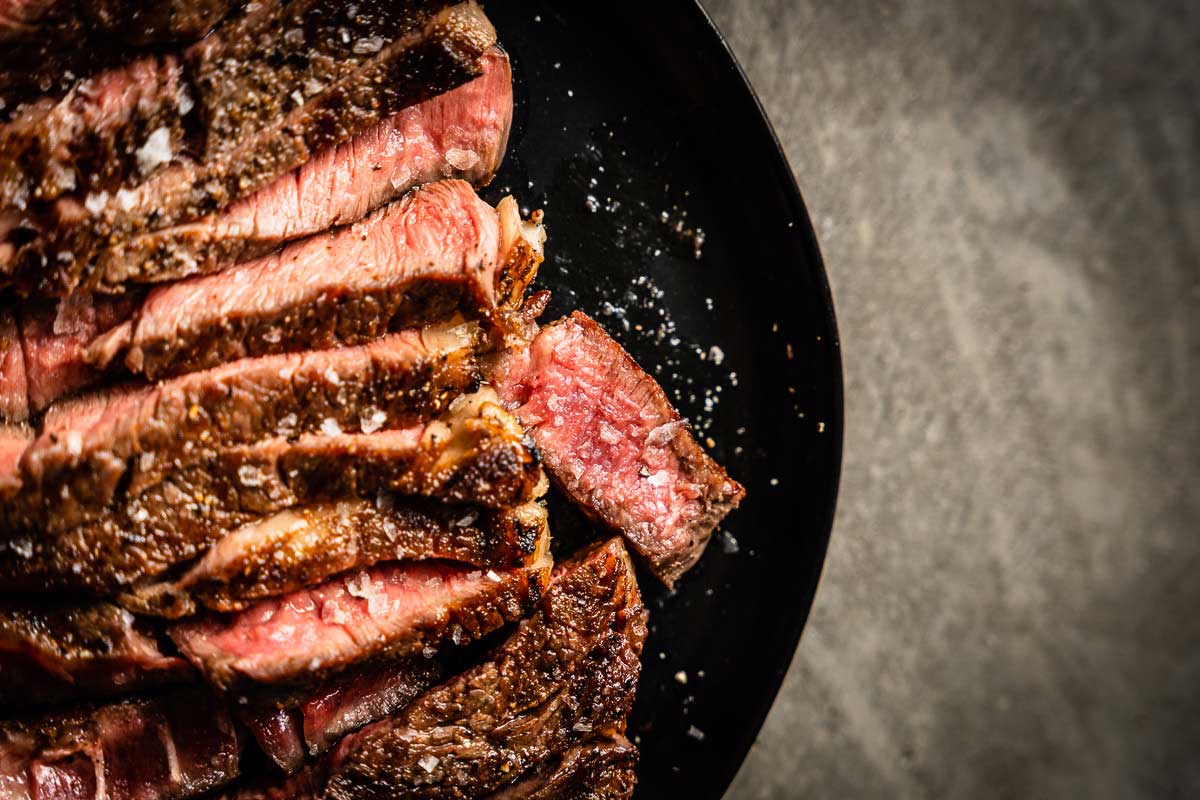
Finish with salt, too. A coarse finishing salt like Maldon, that is. It adds a whole new element of crunch and texture, as well as flavor. Slice the steak and sprinkle on a little. It also looks great for the presentation.
Would you like to save this?
Wood and charcoal grill fuel is seasoning, too. Grilling over charcoal and wood adds flavor to the steak, unlike gas fuel, which is really just clean heat.
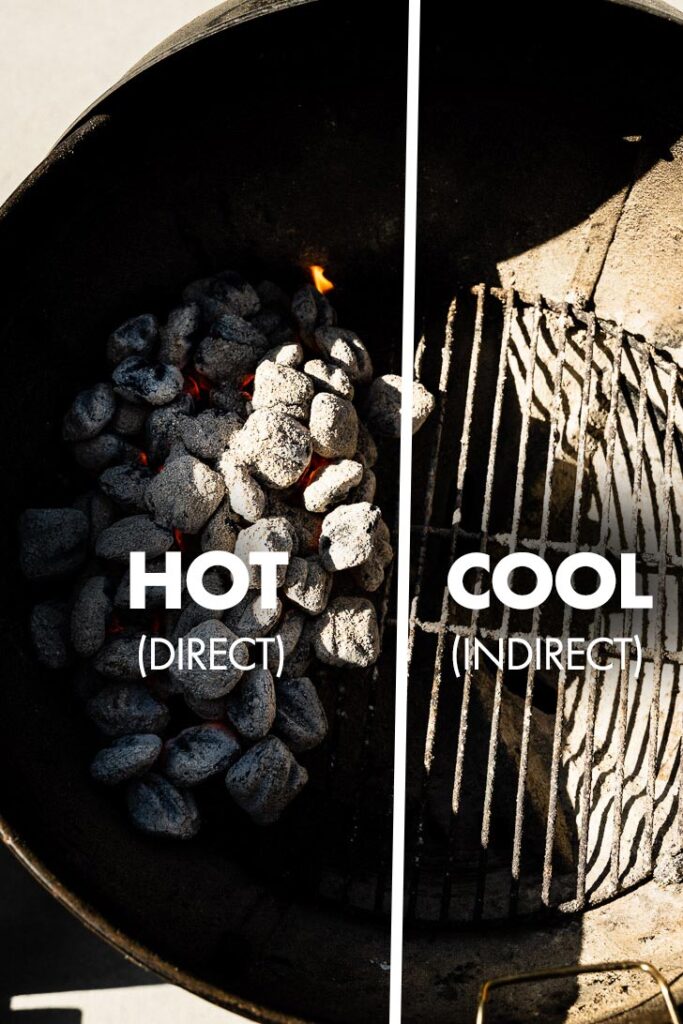
Two-Zone Grill Setup
Set up distinct hot and cool zones. Super hot is for searing over direct heat, and much cooler is for cooking the steak through. You’re going to sear for about 3 to 5 minutes per side, then transfer to the cooler side until the meat reaches the pull temp. After the meat is on the cool side, just close the lid and wait; no flipping is required. Learn more about the two-zone grill setup.
Frequent Flipping For Even Cooking
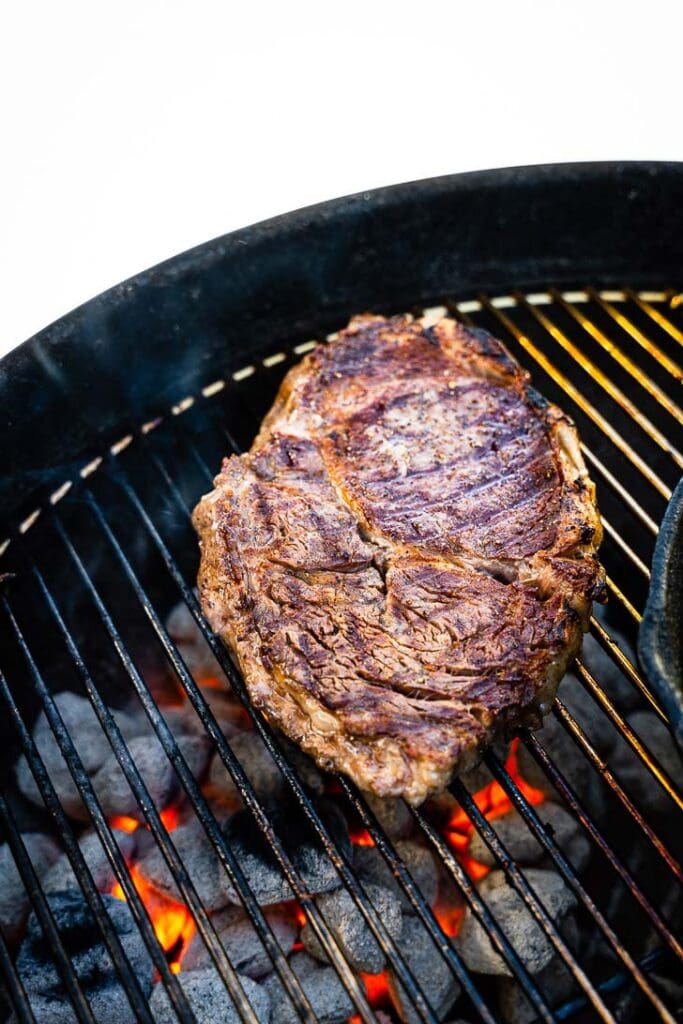
Want faster and more even cooking? Flip the steak frequently (every 30 to 60 seconds) with tongs during the sear. This is a more modern grilling technique. It results in an even more flavorful brown crust, rather than distinct grill marks, which can end up tasting bitter.
This also means that you don’t need to temper the meat (meaning you don’t first need to bring it to room temperature) for even cooking. Flipping frequently promotes even cooking on both sides and a juicier steak. It does require more hands-on attention, but what else would you rather be doing, right?
Flip every 30 to 60 seconds during the sear.
Times and Temps
Grill temp: ~400° F on the hot zone. 250° cool zone.
Pull temps: If you cook the steak to the desired temperature, you might wonder why it ends up overcooked. That’s because of “carryover cooking.” The temperature will continue to rise after it is removed from the heat, so we pull it off before it reaches the finished temp. The carryover temp is less for steaks like this and more for larger cuts.
| Pull Temp (5 to 8° before finished) | Finished Temperature (after resting) | |
|---|---|---|
| Rare | 112-124° F | 120-129° F |
| Medium-Rare | 122-129° F | 130-134° F |
| Medium | 127-139° F | 135-144° F |
| Medium-Well | 137-149° F | 145-154° F |
| Well | 150°F + | (please don’t!) |
Approximate cook times: Sear on the hot side: 6 to 10 minutes. Finish on the cool side: 6 to 12 minutes more. Total of about 12 to 22 minutes.
Why You Need to Cook to Temp, NOT Time
There are so many variables when cooking that cooking to a temperature rather than by time is so important to the best results. Steak vary by size, thickness, type and starting temperature, the grill temperature will differ, grates are a different thickness, the air might be warmer or cooler and then there’s the humidity level. What doesn’t change is the desired temperature you want to cook the steak to. The best way to make this happen is simply to rely on a quality probe thermometer.
My Favorite Thermometers
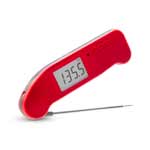

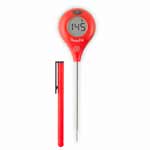
Skip the cheap $10 thermometer and invest in a quality one that will be faster, reliable and last a long time.
A Little Rest
Don’t rest the steak too long. But do rest it to allow the juices to redistribute. A 3- to 5-minute rest is usually perfect for a 12- to 24-ounce steak. Personally, I don’t like to cover a steak while it’s resting unless it won’t be eaten for a while and you need to keep it warm (and this really shouldn’t happen; always time the meal to coincide with the end of the rest).
Pro Tips for Success
- Hot steak > cold steak. Try to time your meal around when that steak will be finished.
- Season with salt early (24 to 48 hours before cooking).
- Use a two-zone grill setup.
- Flip often during the sear (every 30 to 60 seconds).
- Tie the steak with butcher twine if it’s not holding together.
Sides, Sauces and More
- Chimichurri
- Salsa Verde
- Breadcrumb Salsa
- Compound Butter
- Heirloom Tomato Salad
- Mashed Potatoes (or Sous Vide Mashed Potatoes)
- Roasted Crispy Brussels Sprouts (can make this on the grill)
- Sauteed or Grilled Broccolini
- Roasted Mushrooms
More Delicious Steak Recipes
- How to Sous Vide Steak
- How to Reverse Sear Steak
- Skillet Ribeye Steaks
- Grilled Tri-Tip Steak
- Grilled Flap Steak with Shallot-Garlic-Rosemary Marinade
- Smoked Tri Tip
Grilled Ribeye Steak
Ingredients
- 16 oz ribeye steak, 1 to 1 1/2" thick
- 1 tsp Diamond kosher salt (1 tsp per pound of steak)
- canola oil
- freshly ground black pepper
Instructions
- Thoroughly season steak with Diamond kosher salt, preferably 24 to 48 hours before cooking. Store uncovered on a cooling rack + sheet pan in the refrigerator.
- Set up the grill for two-zone grilling. Clean grill grates and brush with oil. Preheat ~400° F for the hot zone and 250° for the cooler indirect zone.
- Pat the steak dry with a paper towel, drizzle on some cooking oil and season with pepper.
- Sear the steak for 3 to 5 minutes per side, turning with tongs every 30 to 60 seconds (for even internal cooking) with the lid open.
- Once the desired crust is achieved, move the steak to the cooler indirect side of the grill and close the lid.
- Cook for another 6 to 12 minutes. Frequently test with an instant-read probe thermometer until the desired internal pull temperature is reached. The pull temp should be 5° to 8° less than the desired finished temperature (see below).
- Remove and rest uncovered for 3 to 5 minutes before slicing against the grain, and serving with a sprinkle of finishing salt.
Notes
Rare: 120° F, 125° F;
Med-Rare: 125° F, 130° F;
Medium: 135° F, 140° F;
Medium-Well: 145° F, 150° F;
Well: nope°
How do I set my green for both hot and in direct cooking for rib eye steaks
Hi Thomas! It’s a bit tricky to do this with a Big Green Egg. It is much easier to do with an XL (which I don’t have myself). You can get something called a Fire Basket with a divider that will raise the charcoal and divide it to only be on one side for a two-zone environment. It’s more difficult to do on a size Large or smaller because of the width that you have to work with. But you can still divide the coals to only be on one side, but it’s not quite the same.
I generally use a Weber Kettle grill because of the extra size making it easy to make a two-zone setup.
Depending on the size of your steak, using the reverse sear method might be an easier option using the conveggtor to first cook the steak and then sear it after your remove it.
Let me know if you have any other questions.