Sous vide cooking has revolutionized the way we can prepare meat at home. The precise low-and-slow cooking method allows even the toughest cuts of meat to become perfectly tender and stay incredibly juicy.
Adding smoke to the process takes these cuts to the next level. Combining sous vide’s moist, even cooking with the incredible flavor imparted by smoking gives you meat that is succulent, smoky, and packed with flavor.
There’s really no other way to smoke meat while controlling the doneness this precisely. If you have been curious about combining these two fantastic techniques, this is your quick guide to combining water and fire cooking.
The Benefits of Sous Vide and Smoke Technique
Sous vide and smoke makes the impossible possible. You might ask yourself, why bother with these seemingly long steps when you can just do one of them? Until you try it yourself, it’s difficult to truly understand how amazing it is.
- Precision – Sous vide allows you to cook the meat to an exact internal temperature for perfect doneness. The water bath temperature is the “doneness.” The time in the water bath at that temperature dictates the “tenderness.” The longer it cooks, the more tender, but not the more “done.”
- Convenience – Almost hands-off cooking with a circulator. Easier than tending a smoker for hours.
- Consistent results – Takes the guesswork out of smoked meat. Reliably juicy and tender.
- Customization – You choose the doneness and texture based on your preference. You can cook meats to medium-rare and still make them super tender, which is just not possible with other methods.
- Moisture – Sous vide cooking keeps the meat incredibly juicy because it is cooked at a lower temperature. Smoking afterward doesn’t dry out the meat because you don’t “cook” it past the sous vide temperature.
- Tenderness – Sous vide tenderizes tough cuts like brisket, turning them fall-apart tender or you can keep them firm while still being tender by cooking them for longer.
- Time flexibility – Once the meat is cooked sous vide, it can be chilled and stored in the refrigerator for up to 1 week, or frozen for longer storage before finishing in the smoker.
- Great for entertaining and meal planning – Using this method eliminates stress when entertaining guests for your BBQ because it can be made ahead and just heated up within an hour or two.
- Crust/bark formation – Smoking or searing after sous vide gives a flavorful crust on the outside of the meat.
What You’ll Need
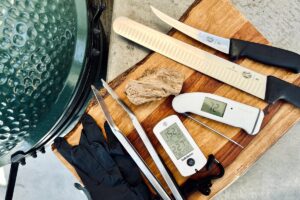
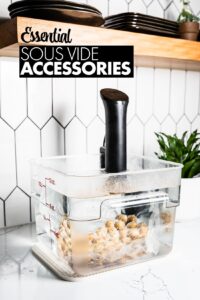
Before diving into the recipes, let’s go over the basic equipment you’ll need to cook sous vide and smoke meat at home:
- A sous vide immersion circulator – This precisely controls the water temperature for sous vide cooking.
- Vacuum sealer – To seal the seasoned meat in bags for sous vide. You can also use ziplock bags and the water immersion method, but for large cuts that require long cooking, vacuum sealing is usually best.
- Large container or a cooler – For the water bath and large enough to fit the cut you are cooking. A cooler works great for long cooks because it helps insulate and maintain the temp.
- Smoker – A charcoal, electric, or pellet smoker will all work great. Learn more about different types of smokers.
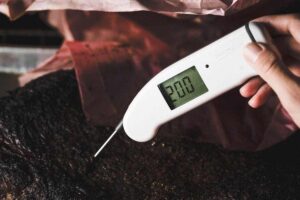
- BBQ thermometer – To monitor meat temps while it warms in the smoker. Learn more about the best meat thermometers.
- Vacuum sealing bags – Large vacuum sealer bags or heavy-duty ziplock bags work for sous vide.
- Smoke wood chips, chunks or pellets – Match the type of wood for smoke up to the protein you are cooking.
The Basic Steps
- Season – Salting meat with kosher salt ahead of time will bring out the flavor. Additional dry rubs can be added before and/or after it is cooked sous vide.
- Vacuum Seal – Remove all the air from the bag for even cooking.
- Sous Vide – Choose the temperature and time and cook in the water bath, fully submerged the entire time.
- Chill – Fully chill the meat either in an ice bath or overnight in the refrigerator still vacuum sealed before heating in the smoker.
- Smoke – Remove from the bag and warm through in the smoker.
- Enjoy!
A Few Pro Tips
Should You Sous Vide or Smoke First?
The short answer is that you can do either, or you can even smoke, sous vide and then smoke again. But if you ask me, three steps is just too many. I prefer to sous vide and then smoke.
The benefit of smoking first is there will be more smoke flavor throughout the meat and a better bark will form. However, the bark and smoke flavor on the outside will be washed away during the sous vide cook.
The benefit of sous vide then smoking is you get to season the meat again with a dry rub and get a nice bark
The winner is sous vide, then smoke.
Sous Vide BBQ Recipes
Now let’s get Sous Vide BBQ cooking!
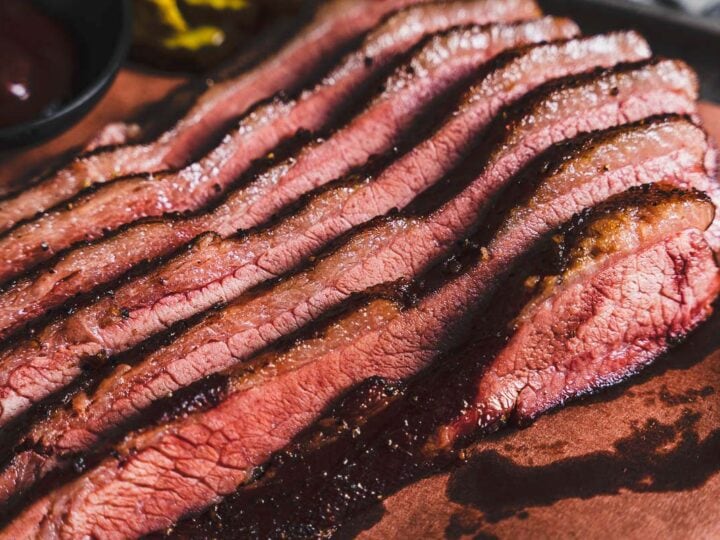
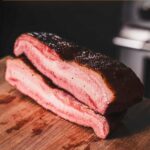
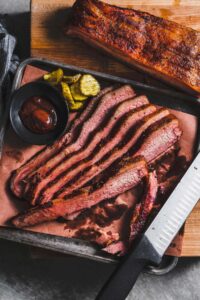
Sous Vide Smoked Brisket
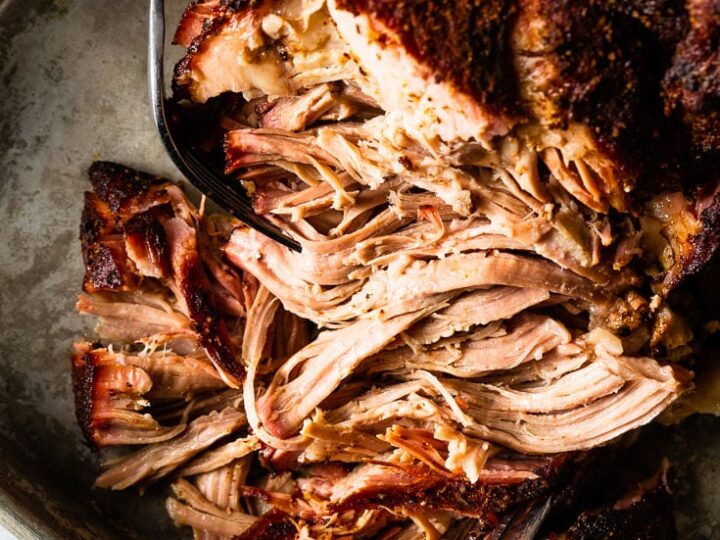
Sous Vide Pork Shoulder
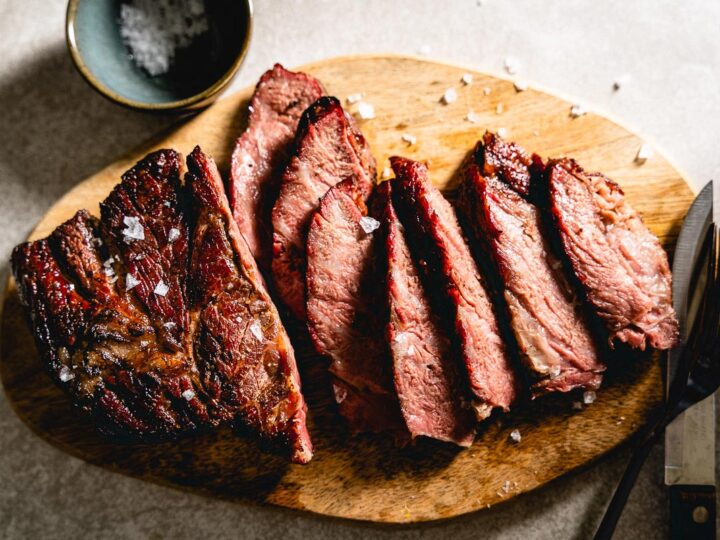
Smoked Sous Vide Chuck
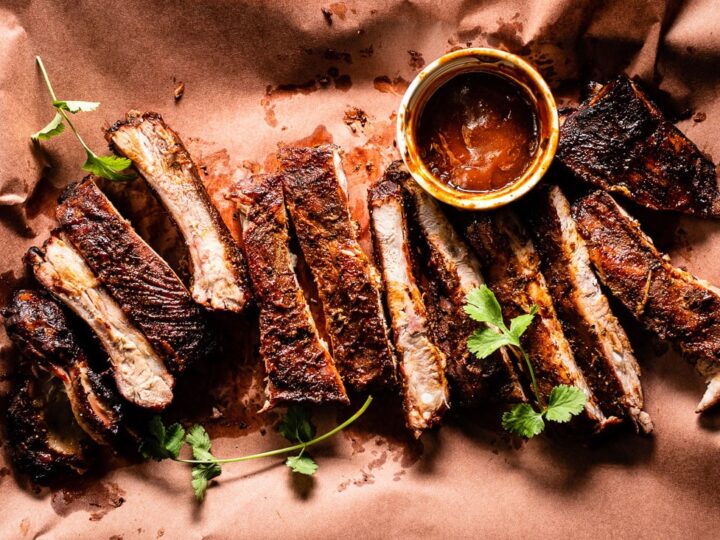
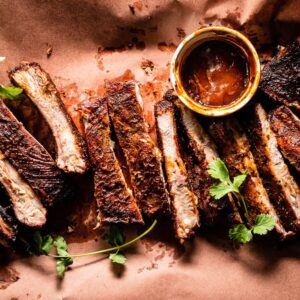
Smoked Sous Vide Ribs
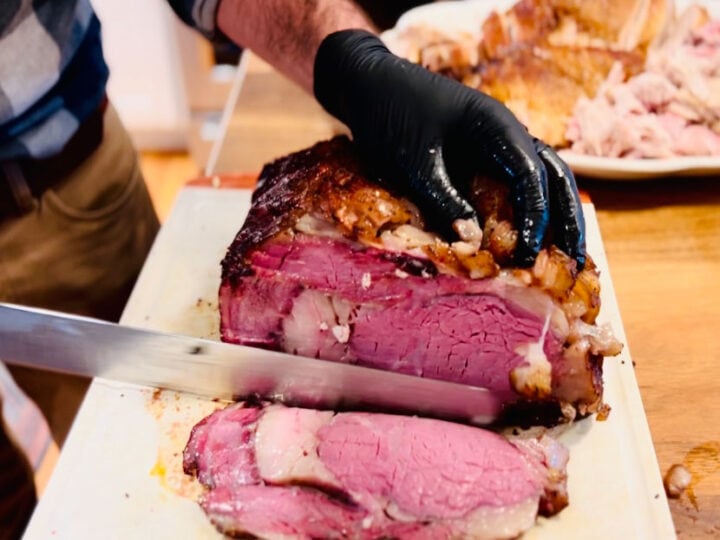
Smoked Sous Vide Prime Rib
Check out all the sous vid and the smoker recipes →
What Else Would Be Great?
This technique is so great with a wide variety of proteins beyond just beef and pork. Poultry like turkey and chicken take perfectly to sous vide smoking and even large cuts like leg of lamb. Turkey breast is especially excellent prepared with a stint in the sous vide then finished on the smoker.
Even leaner cuts like pork tenderloin and beef tri-tip turn out super moist and tender thanks to the sous vide bath. You can even take quicker cooking proteins like steaks, pork chops or even lamb chops to the next level with this method.
More Helpful Articles to Check Out
Sous Vide BBQ Recipes
Ingredients
- 1 rack pork ribs
- 1/4 tsp. Diamond kosher salt (per pound of ribs)
- 1/2 cup rib dry rub
- applewood chunks or pellets
- BBQ sauce (plus more for serving)
Instructions
Sous Vide the Ribs
- Prep the ribs by cleaning and removing the membranes and rinsing with cold water. Season with salt and a light dusting of rub (maybe 1/8 cup).
- Bag and vacuum seal the ribs.
- Place in the water bath at 148° F / 64° C and cook for 24 to 30 hours. Make sure to cover the bath to prevent excess evaporation in such a long cook.
- Remove the ribs from the water bath and place on the counter for 10 to 15 minutes, then submerge in an ice bath for 30 minutes or until fully chilled. This gives the ribs time to absorb some of the juices and to not shock them in the ice bath right away.
- Refrigerate until you are ready to finish them in the smoker, up to 5 days.
Smoke the Ribs
- Prep and preheat the smoker to 250° F for indirect heat cooking according to the manufacturer's instructions with a water drip pan in place.
- Remove the ribs from the bag, leaving them wet as they will absorb more smoke and the rub will stick. Dust on 1/4 cup of dry rub per rack.
- Place in the smoker and cook for 1 hour.
- After 1 hour, baste on the BBQ sauce on both sides. Continue to cook for 30 more minutes, applying sauce again after 15 minutes.
- Remove from the smoker and serve immediately or wrap in butcher paper and keep warm in a cooler to serve later with more BBQ sauce.
Notes
- This recipe is for one rack, but you will want to scale it up to more. Figure 2 to 3 people per rack depending on what else you are serving.
- If your vacuum seal bags aren’t large enough for the whole rack, you can cut the racks in half. Double bag if you are concerned about a breach with the long cook.
- It’s not necessary to preheat the water bath since the cook is so long.
- Feel free to experiment with different times and temps for the water bath.
- If you want more of a sear and color, you can lightly grill or torch the ribs after smoking.